
This is my lovely friend Connor. She was another one of those face shapes that wasn't too obvious. eventually I found that she has a TRIANGLE face shape and I was super excited to do her makeup. This makeup session was a little different from the others because I tried to keep everything as simple as possible. Connor doesn't wear makeup very often and when she does, its limited. Ive known a lot of women like this. Theres nothing wrong with wearing a small amount of makeup daily or no makeup at all. Because I know that there are a lot of women who could relate to Connor I decided to do a bit less than I normally would for a glam session. I wanted her to be able to re-create the look if she wanted and making it too complicated would just overwhelm her and scare her away from trying it herself. One of the things that I had to do differently from my other models was her eyes. Conner has hooded eyes and just like we all have different face shapes, we also have different eye shapes that influence how we should apply our eye makeup. If you don't know what eye shape you have there's a list below and some tips on how to contour them. What eye shape do you have? 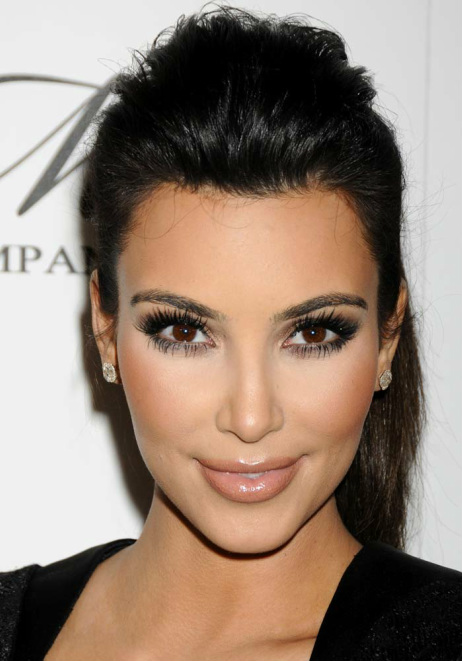 AVERAGE EYES: Kim Kardashian is one of those women who has perfectly beautiful eyes. Average eyes are the equivalent to an oval face shape. They are evenly spaced, they don't show too much lid, they are not hooded and are usually oval in shape. For this eye shape you have a lot of freedom and can do almost anything. The only rules to stick to is making sure you apply the lightest shade in the inner corners of your eyes and right under the eyebrow on the brow bone. See the image below. 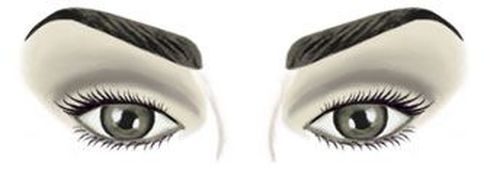
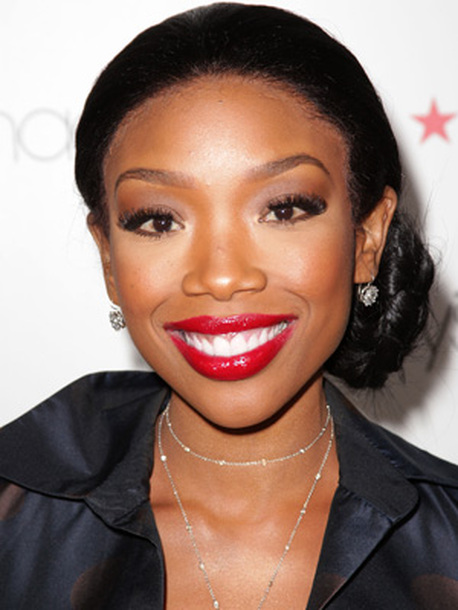 WIDE SET EYES: Brandy Norwood has wide set eyes. If the space between your eyes is bigger than the length of one eye, you have wide set eyes. For this eye shape keep your darker shades more towards the inner corner of you eye to bring them closer together like the image below. 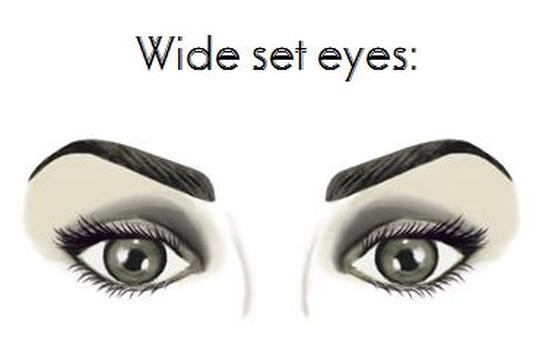
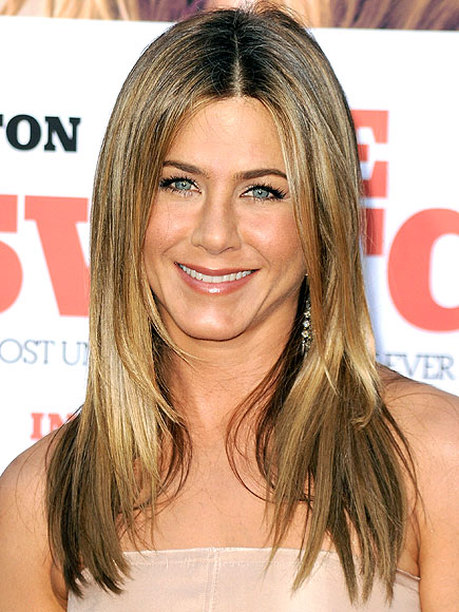 CLOSE SET EYES: Jennifer Anniston has close set eyes. Close set eyes are narrower than one eye width. For this eye shape, use light colors on the inner corners and extend the outer corners using dark colors. Line outer corners as well. See the image below. 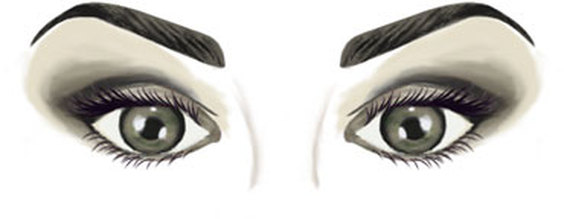
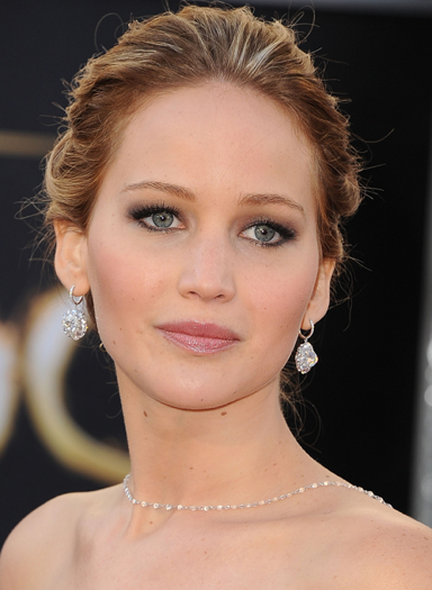 HOODED LIDS: Jennifer Lawrence as well as Taylor Swift have hooded eyes. That's when the skin covers your eye lid. For this eye shape use matte colors in medium to dark shades and keep eye makeup simple. For a more dramatic and defined look, do a dramatic winged eye liner and use the example below for a smoky look. 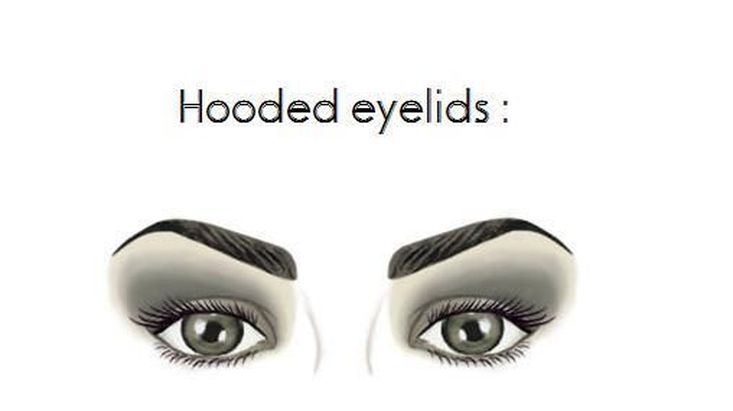
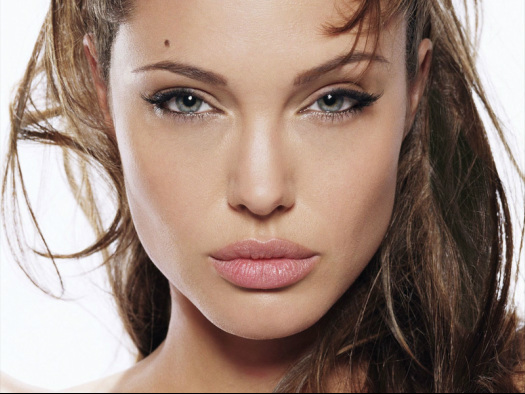 DEEP SET EYES: Angelina Jolie has deep set eyes. Her eyebrow bone is in front of her actual eye. For this eye shape apply light colors on the upper lid, under the eyebrow, with a deeper color on and just above the socket line, blending up and out. See the image below. 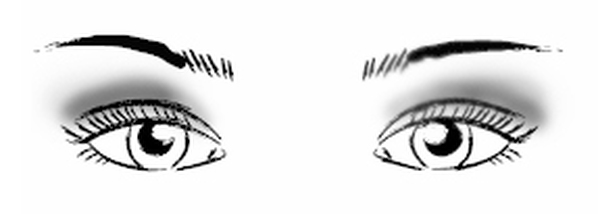
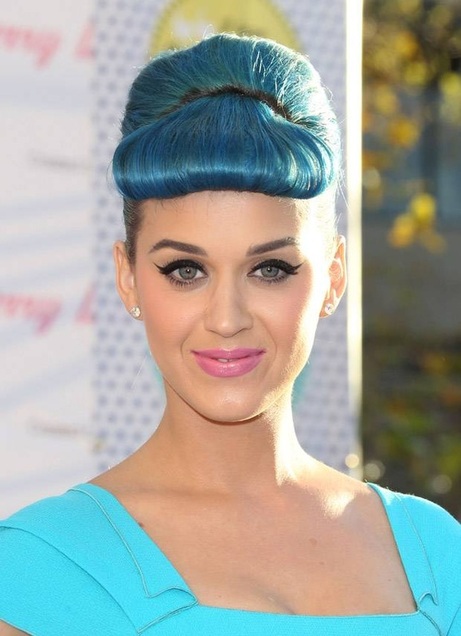 PROTURUDING EYES: Katy Perry in all her cuteness has protruding eyes. these eye looks big and round, lids are extended further than brow bone. These eyes are set far forward in the face making it more prominent feature. It is the opposite of deep set eyes. For this eye shape, shadows used need to be medium to dark. Darker shades tend to cause the eyes to look more deep and sunken and will disguise any protruding or bulging eyes. Do NOT use light shadows to the whole lid since it only accentuates and highligh the big eyes. See the image below as an example. 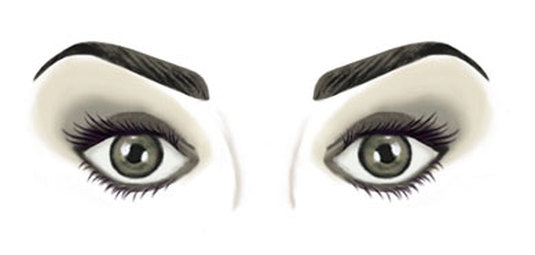
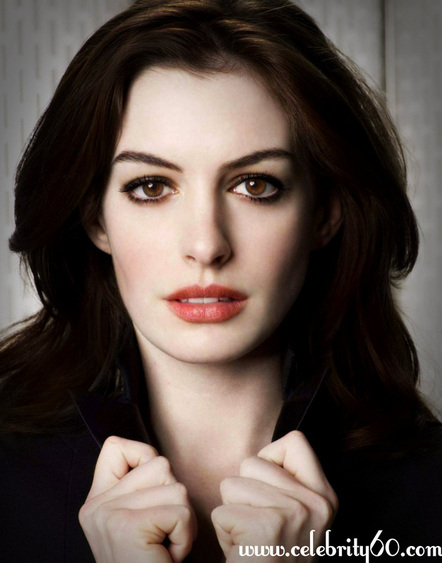 DROOPY EYES: Anne Hathaway has droopy eyes. They are also known as puppy eyes because they are usually hooded and the outer corners droop down. For this eye shape Light colors: Light eye shadow makes the eye area more visible and brings it forward. You want to create radiance, so use colors that work well with your skin tone. contour with a darker color just the crease of the lid. Swipe the outer corner of this contour line slightly up. See the image below. 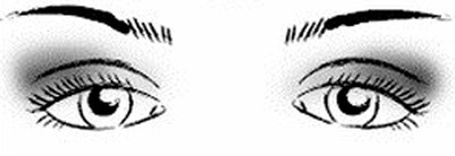
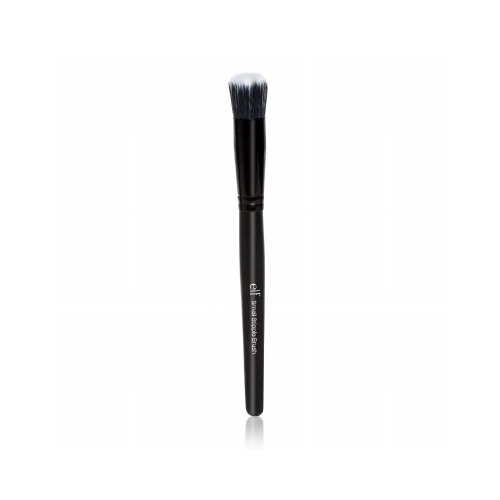
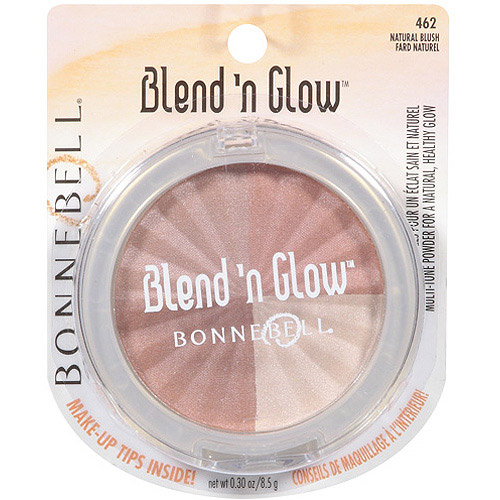
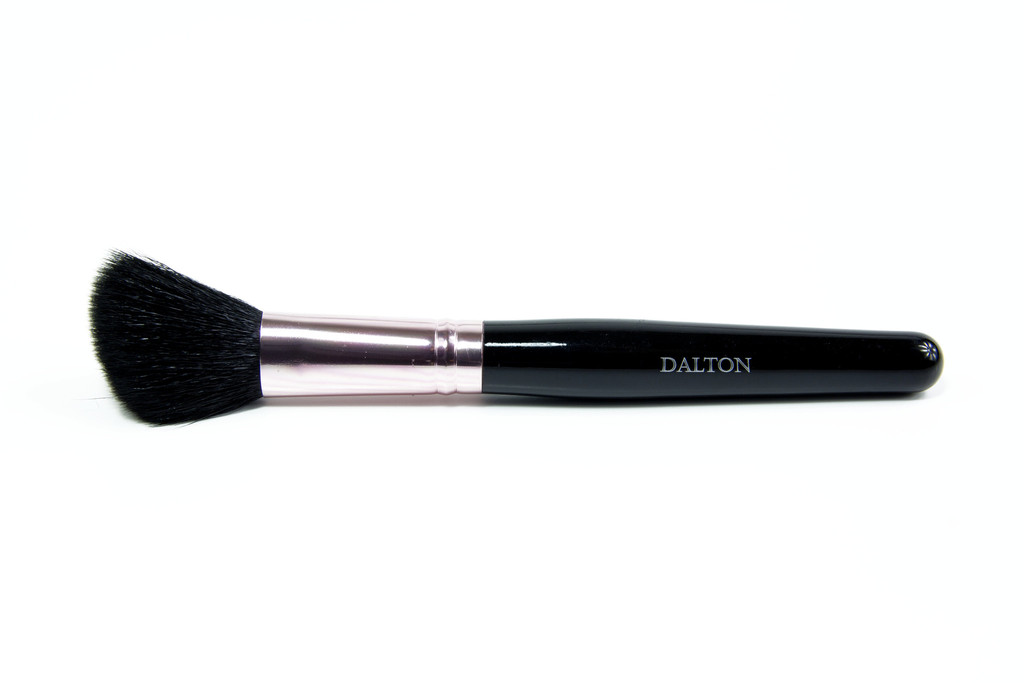
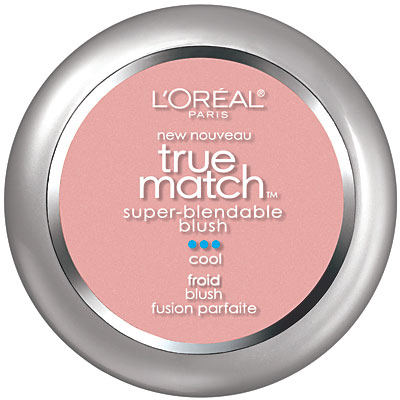
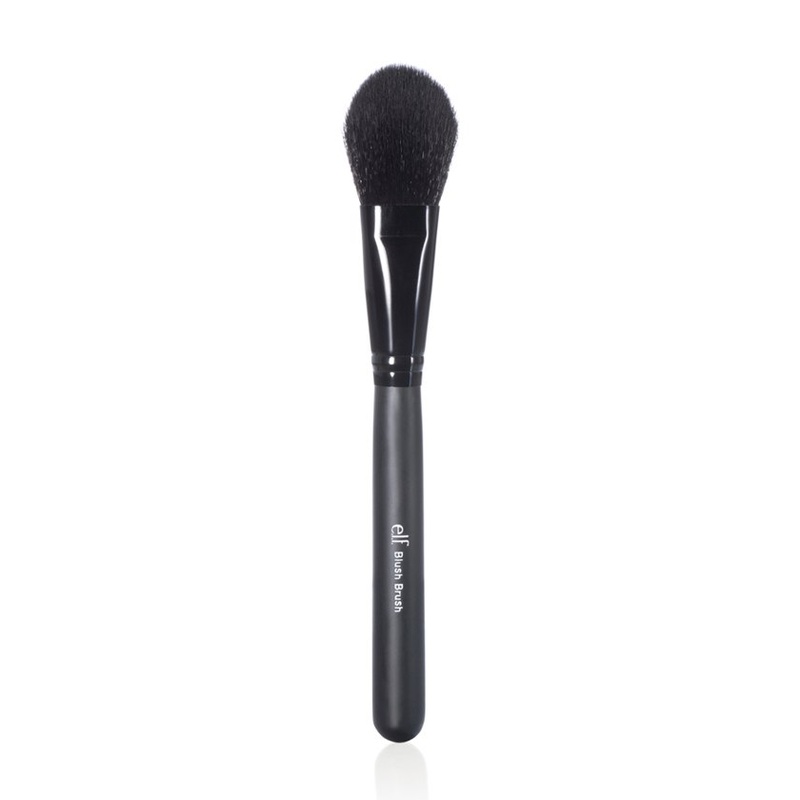
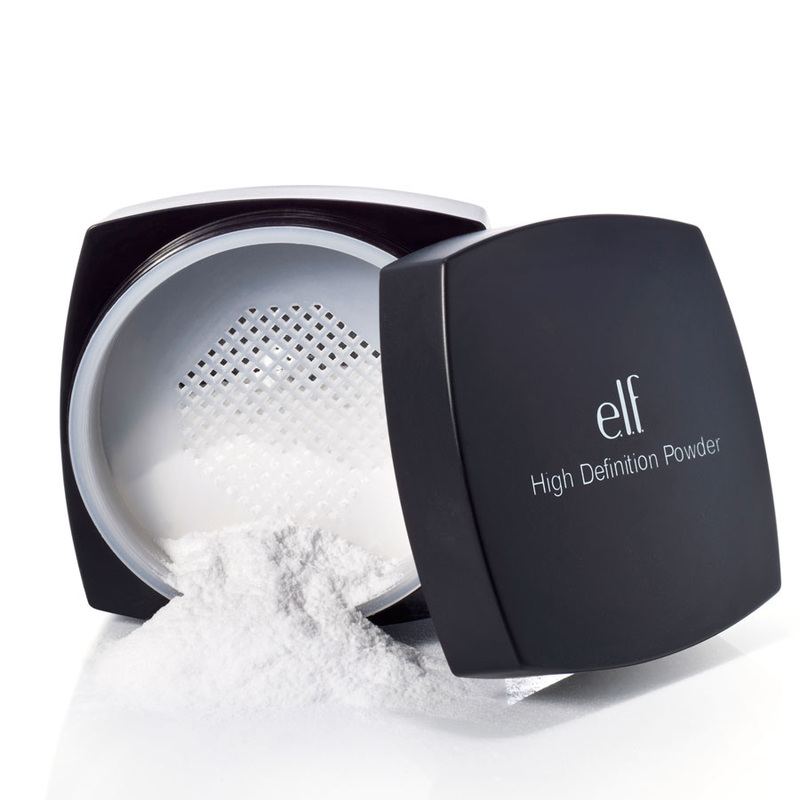
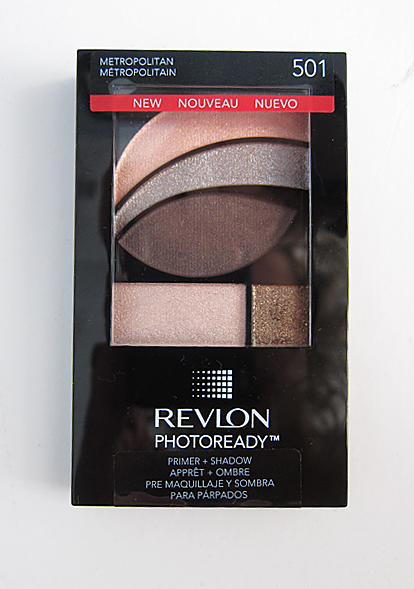
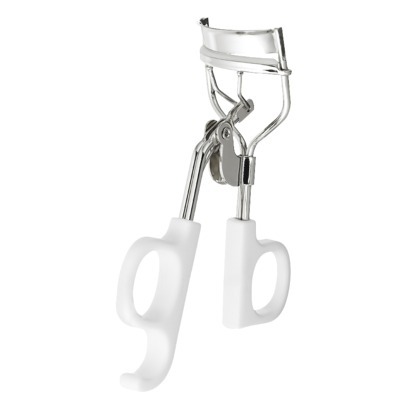
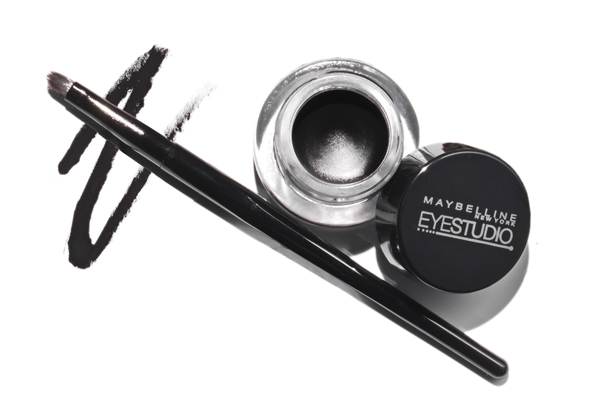
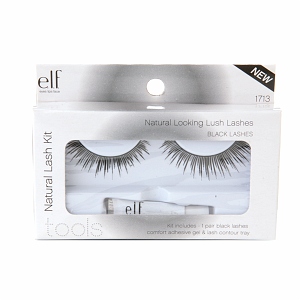
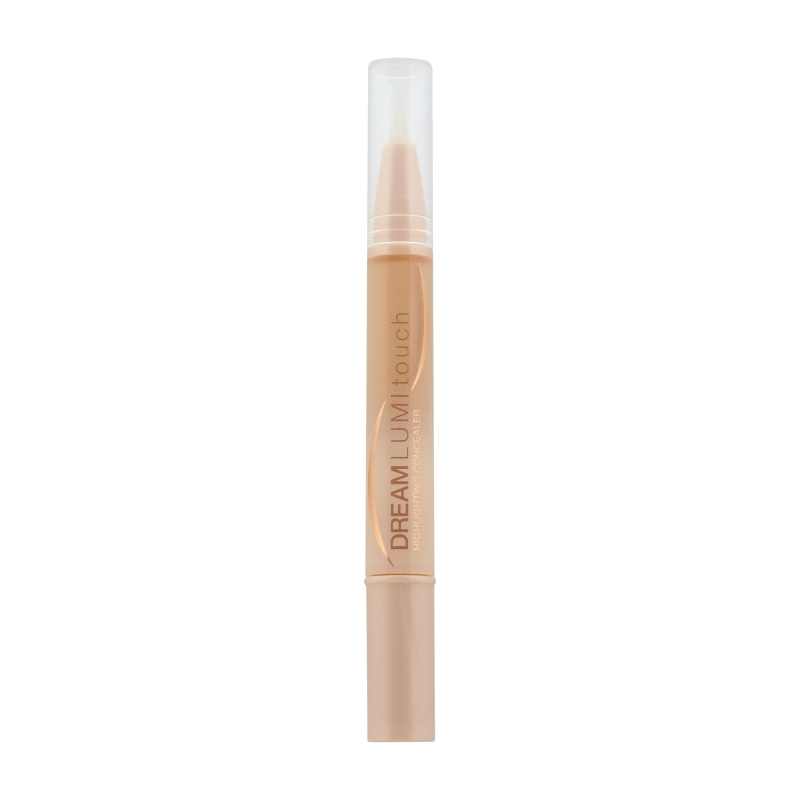
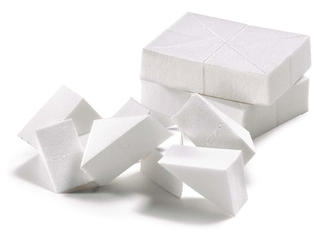
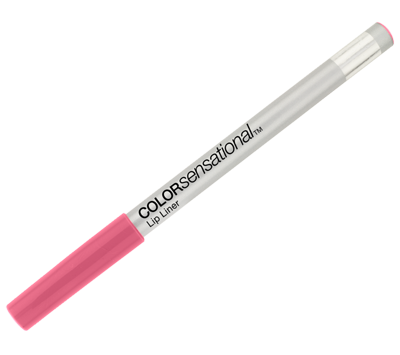
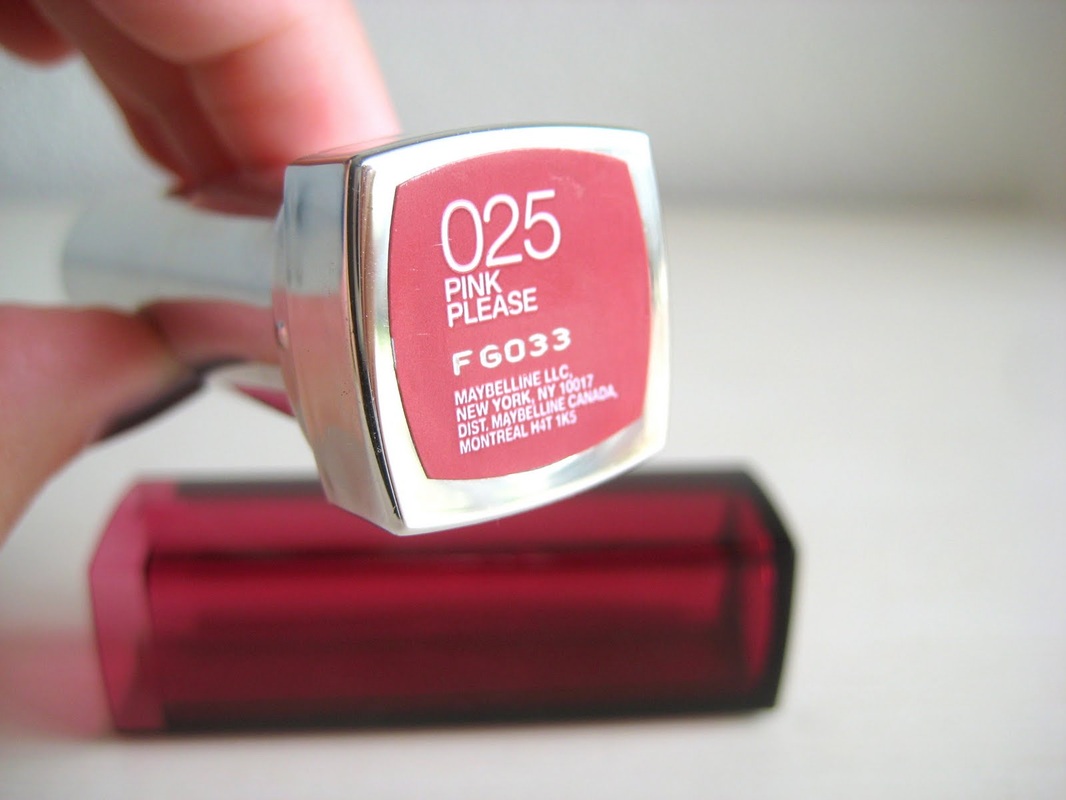
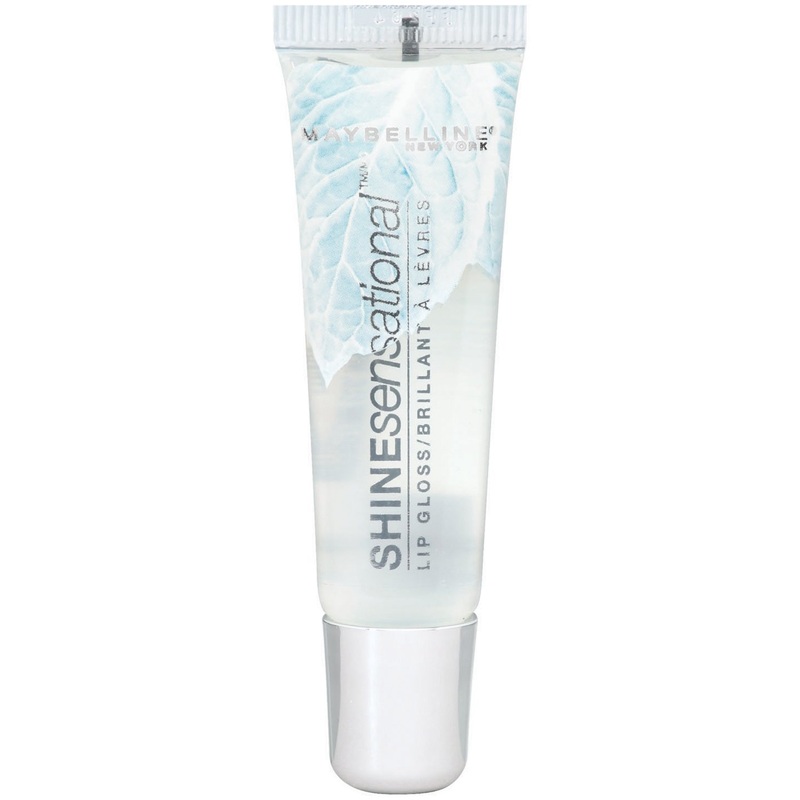
Lets get back to Connor and the importance of the right products... Products: I'll be repeating myself on this topic a lot. When you're being photographed, and for every day. Because lets face it, we take pictures all the time. I always recommend that you wear makeup that gives you a matte finish. There's nothing worse than having that horrible shine across your face in pictures because you used the wrong foundation. You might be asking, "can't you Photoshop that out?" Its a good question but the answer is no. You want to GLOW in pictures, not sparkle or have that greasy shine. The best product for you really depends on your skin tone and sensitivity. If you have clear, normal skin, you can wear basically anything. If you're like me, where I have the occasional blemish and a couple acne scars from my teenage years I want to hide, and dry skin. Than you'll want something with a bit more coverage like cream products. Here are the products I used for Connor... Hover or click over the images to get a description and tips for each one. Now lets see HOW I used the products. Here's her contouring breakdown... 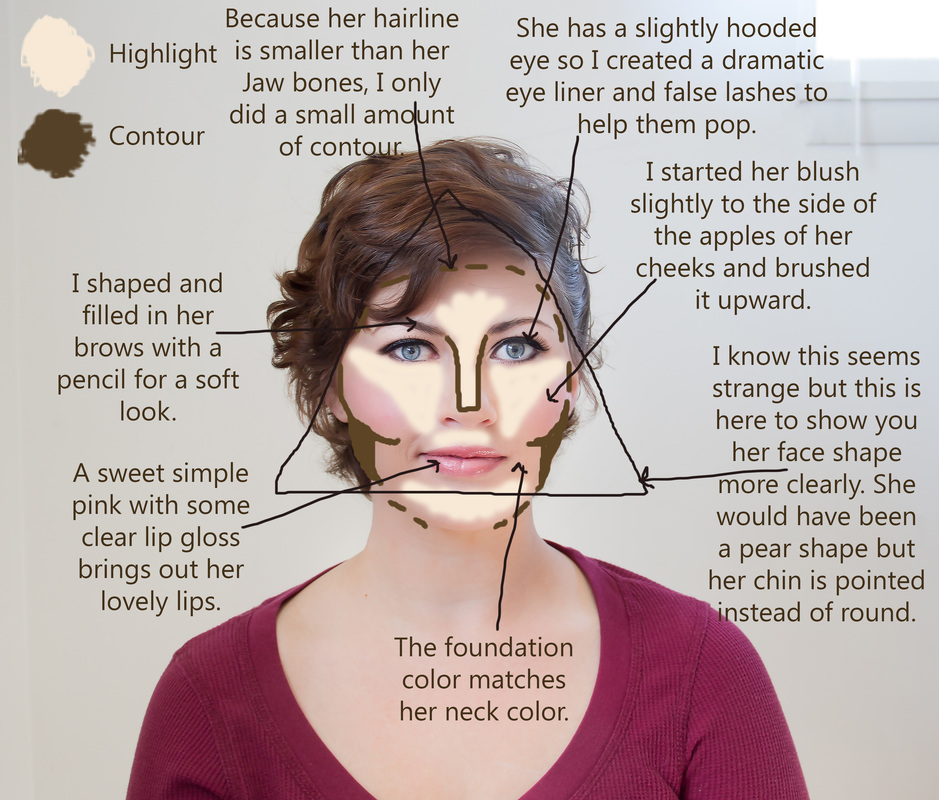
The image above is jam packed with information. Sorry if it seems like a lot. Its pretty self explanatory but I'll go over a few points below. I wanted to address what contouring is again. I went over this in my first post but I thought it would be good to bring it up again... 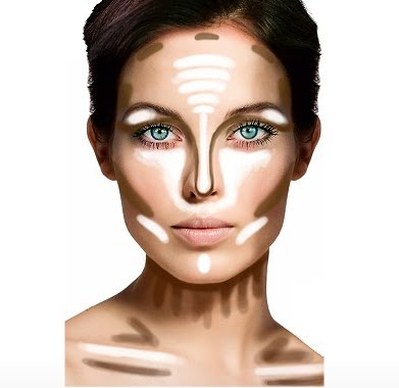 WHAT IS CONTOURING?: You might have also heard it called HAC (Highlighting and Contouring). In the past contouring was harsh and dramatic. The twenty-first century version of Contouring is all about enhancing cheekbones, slimming your face, and tricking the eye in a believable way. Simply put: "It's no longer about carving a line into your cheek." This is my FAVORITE way to do makeup. There are other great ways to apply your makeup but especially for pictures, THIS is what I vouch for every time and the finished results are stunning. I also recommend a light contouring for everyday use as well. The truth is that because of social media and literally everyone having a camera in their pocket, we are being photographed ALL THE TIME! You don't have to go all out every day but little things will make a big difference in your every day look. CONSIDER YOUR SKIN TONE: Anything that stands out too much against skin is going to look obvious. "If you're fair, use a contouring cream or powder that's 1-2 shades darker than your skin tone." The same applies for darker skin tones. For darker skin, you want to make sure that you don't go too light with your highlighting. Otherwise you'll look like you just spread chalk all over your face. LOSE THE GLITTER: From allure magazine... "Highlighter should be "almost the color of your skin, with just a hint of shine," says makeup artist Polly Osmond. Avoid anything with noticeable sparkles, which can look chalky or just plain unnatural. If you have fair skin, a pearly shade works well, but those with medium and dark complexions need a warmer golden highlighter for a glow that looks natural, not pasty." KNOW YOUR FACE SHAPE: As I mentioned before, Contouring isn't the same for everyone. It's important to keep your face shape in mind. If you have a round face, contouring under your cheekbones can make it appear smaller (score!). But if you have a narrow face, it could make it look even longer. BLEND, BLEND & BLEND: Blending is the most important thing when you contour. If your using a liquid, use a sponge like the Beauty Blender. Its amazing. If you're using powder, It's important to hold your brush really softly. Holding the brush toward the end of the handle will give you a softer, more seamless finish. After doing Connors contouring, my next main focus was here eyes. 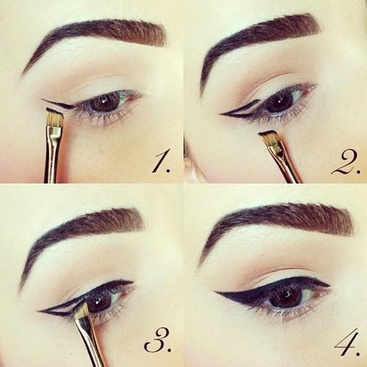 Eye Liner: Because Connor has hooded eyes, I focused more on her eyeliner and false lashes. If you have this same eye shape, then eye shadow wont be super necessary as much as eyeliner, mascara and false lashes would. The picture to the left is the design I used on Connors eyes. It might seem dramatic but for someone who has hooded eyes, this will only make a small difference in the look of he eyes. The image below is how I applied her eye shadow. 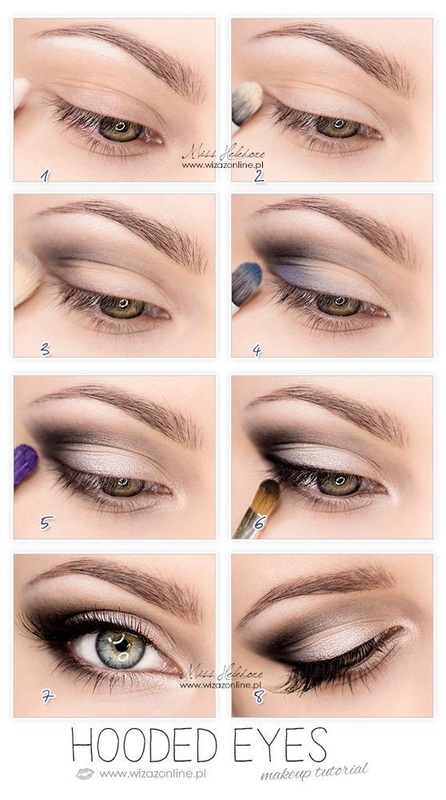
As you may know, I was asked by many people to make a video tutorial and so I started with something small like How to Apply False Lashes. It took me FOREVER to figure out the editing software though. Trust me, its completely different from still images. This was a true learning experience for me. I've never worked with video and I hope It all makes sense :) I'll me making improvements for my next video tutorials and if there's anything you'd like to see me do or suggestions, please let me know. Enjoy! 
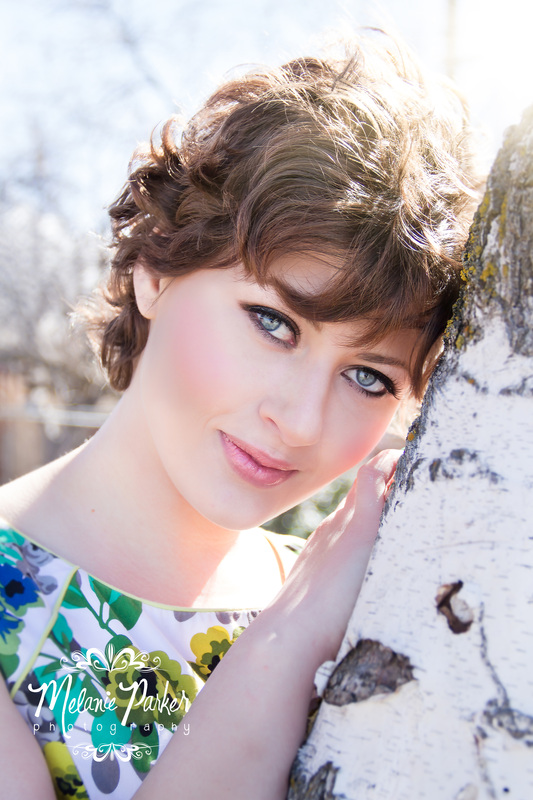
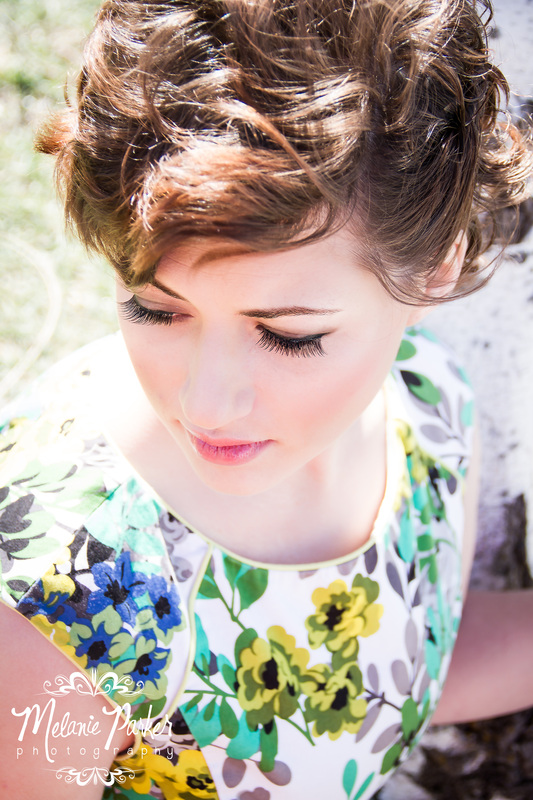
Thanks again for visiting and here's some images of gorgeous Conner with her makeup all done! 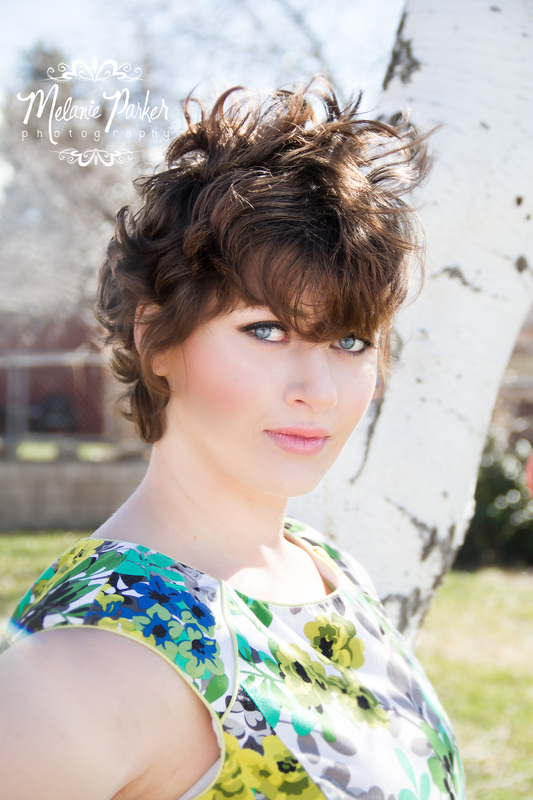
2 Comments
Jessica
7/25/2023 12:20:35 am
Make your day happy ❤❤ with this unbelievable promotions on amazing memberships <a href=" https://coupondonor.com/coupons/adulttime ">Visit Site</a> Leave a Reply. |
Archives
July 2014
Categories |


 RSS Feed