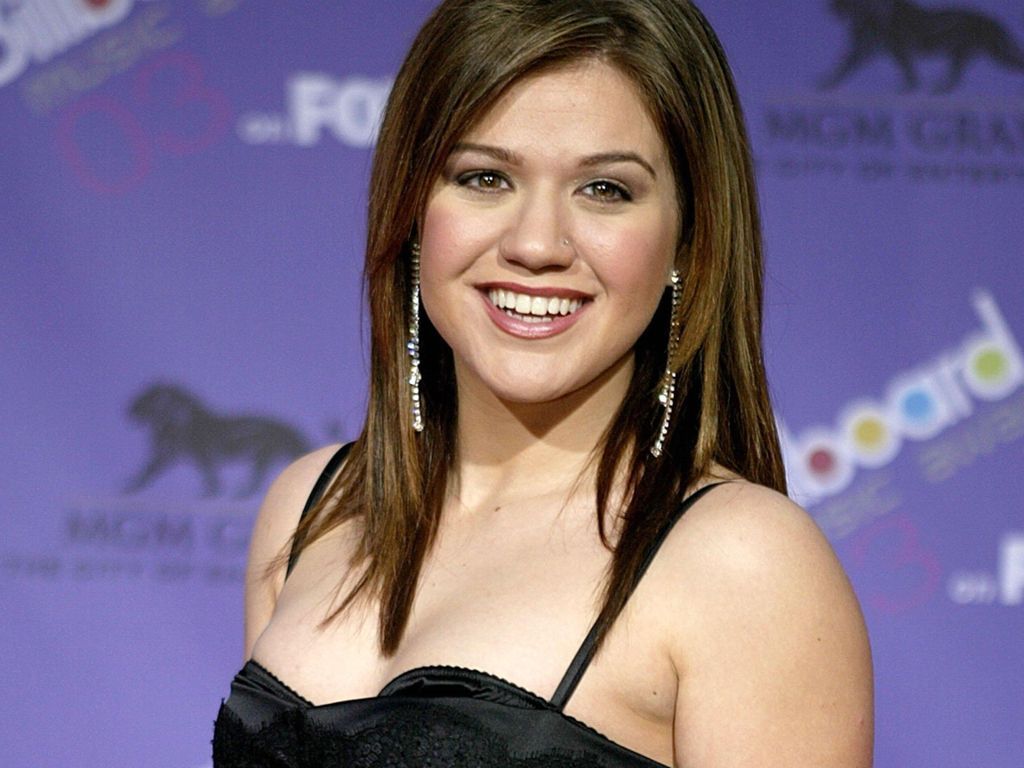
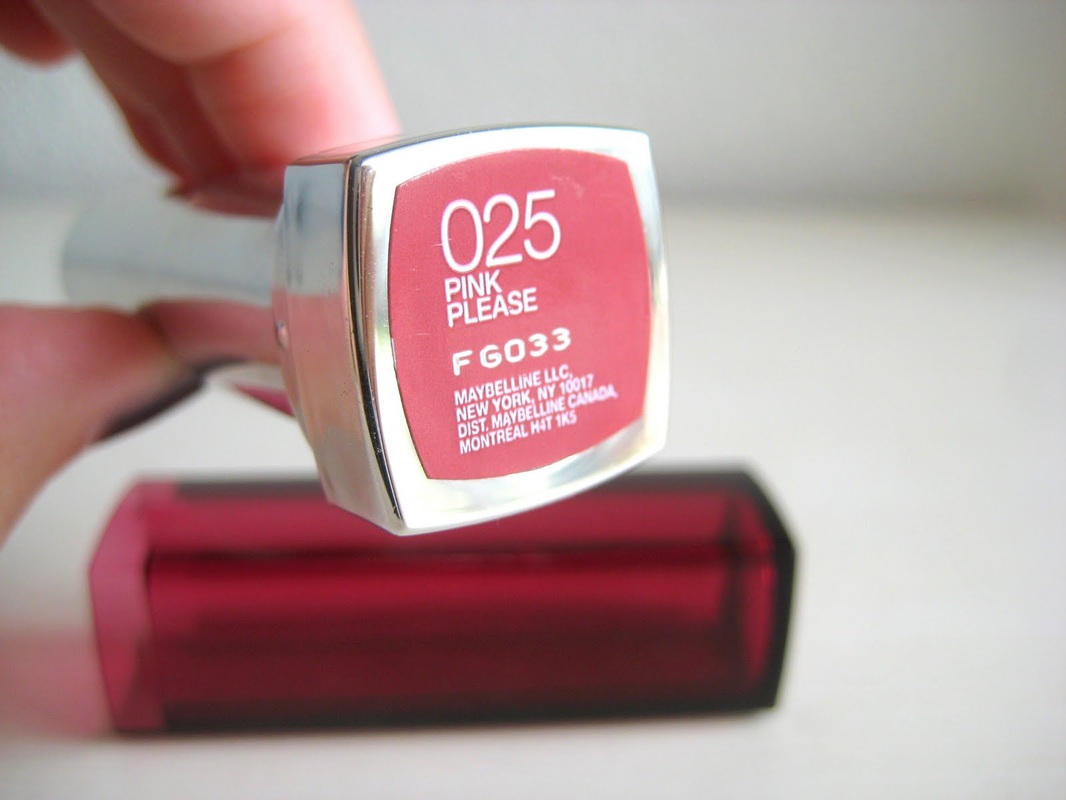
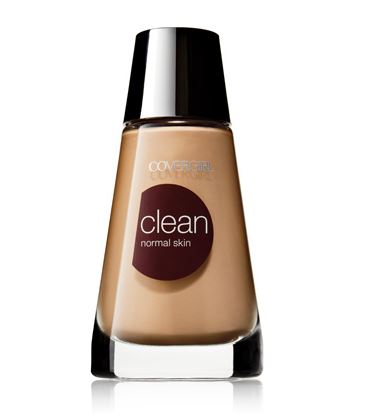
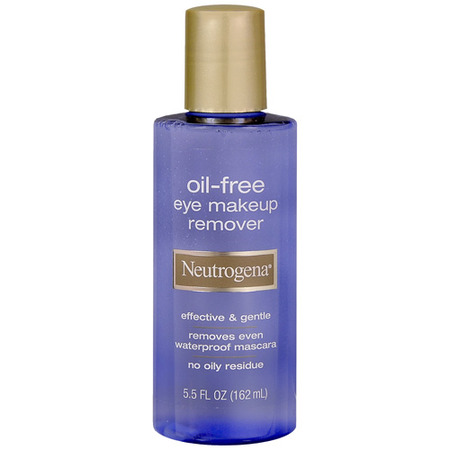
 Welcome to my photography website and makeup blog! Today I'll be talking about ROUND face shapes and how to contour them. My model this week is Kelsey. I have to say that out of all my models so far, she was the MOST prepared. She had some great products and high quality brushes. It really gave me a lot to play around with and I knew that we were going to have lots of fun. I also loved the colors and tones she chose. All of her products where pretty, soft and complimentary which is spot on for round faces. Round faces are one of my favorites because a round face is naturally soft and feminine looking. Its always best to keep everything rather gentle. The saying "Less is more" absolutely applies for round face shapes. The softness is incredibly romantic and There are some celebrities who share this face shape.... 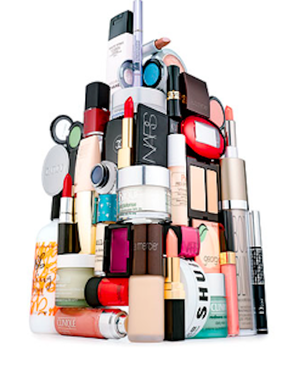 Products: I'll be repeating myself on this topic a lot. It must be important right? When choosing the right products for your face it can seem a bit daunting. There are thousands of options with a variety of prices. When you're being photographed, I always recommend that you wear makeup that gives you a matte finish. There's nothing worse than having that horrible shine across your face in pictures because you used the wrong foundation. You might be asking, "can't you Photoshop that out?" Its a good question but the answer is no. You want to GLOW in pictures, not sparkle or have that greasy shine. The best product for you really depends on your skin tone and sensitivity. If you have clear, normal skin, you can wear basically anything. If you're like me, where I have the occasional blemish and a couple acne scars from my teenage years I want to hide, and dry skin. Than you'll want something with a bit more coverage like cream products. Lets break it down... Price: Lets face it, if your a mom like me, a student or just don't have a lot to splurge, then price can sometimes be THE deciding factor. But it should NOT be an excuse. There are many products that I love and can be found at Walmart, Albertsons and basically any drugstore. here's a few of my favorites... Maybelline, Lorielle Paris, Revlon and Elf. I recently did a price comparison of some drugstore options and then the professional competition. Specifically the MAC makeup line. I priced out JUST the products for proper contouring and my drugstore products came out under $40.00 compared to the professional brand coming in at just under $200.00. Its honestly all about the technique, not the price tag. Skin Type: I went over this in depth in my last post..... http://www.melanieparkerphotography.com/3/archives/03-2014/1.html Your skin type is one of the most important. Learn what kind of skin you have, then research a product to work well with what you need. If you try something and it doesn't work, its okay! Yes it sucks to have felt like you wasted money on a product you hate but sometimes that's the only way to find what works best for you. Process of elimination people! Skin Tone / Color: I can't say this enough. Always, match your foundation to your neck color. Preferably the lightest part of your neck. The whole Idea is to look natural and effortless. Not stressed and fake. You also want to keep in mind your SKIN TONE. Everyone has different hues to their skin. Just like each time of day and season gives off its own hue of color, so does our skin. Here's a wonderful skin tone test that I found from "Paula's Choice, Skin Care." 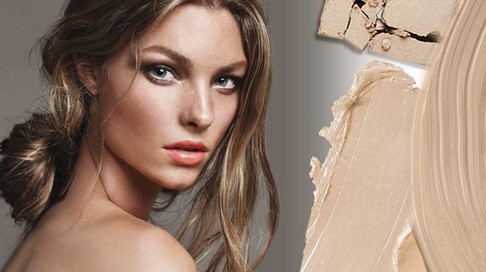 SKIN TONE TEST: Knowing whether your undertone is warm, cool or neutral is the key to ensuring that your foundatoin matches your skin and color products look natural. There are several ways to determine your skin tone, but here are some quick methods to keep in mind:
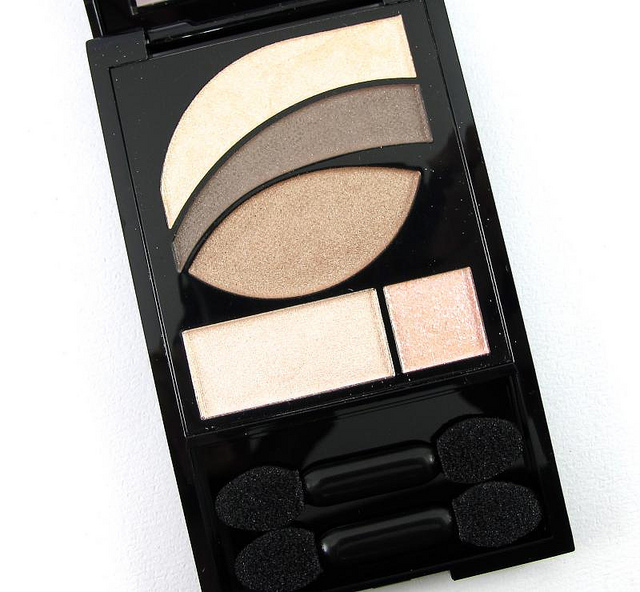
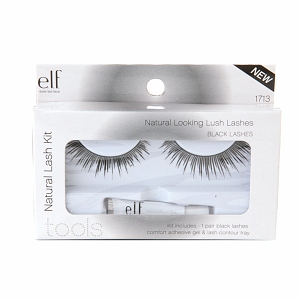
Now that we have gone over how to pick your products, lets go over her before and after picture (below) and lets look at what I used to get this look for Kelsey... BEFORE & AFTER 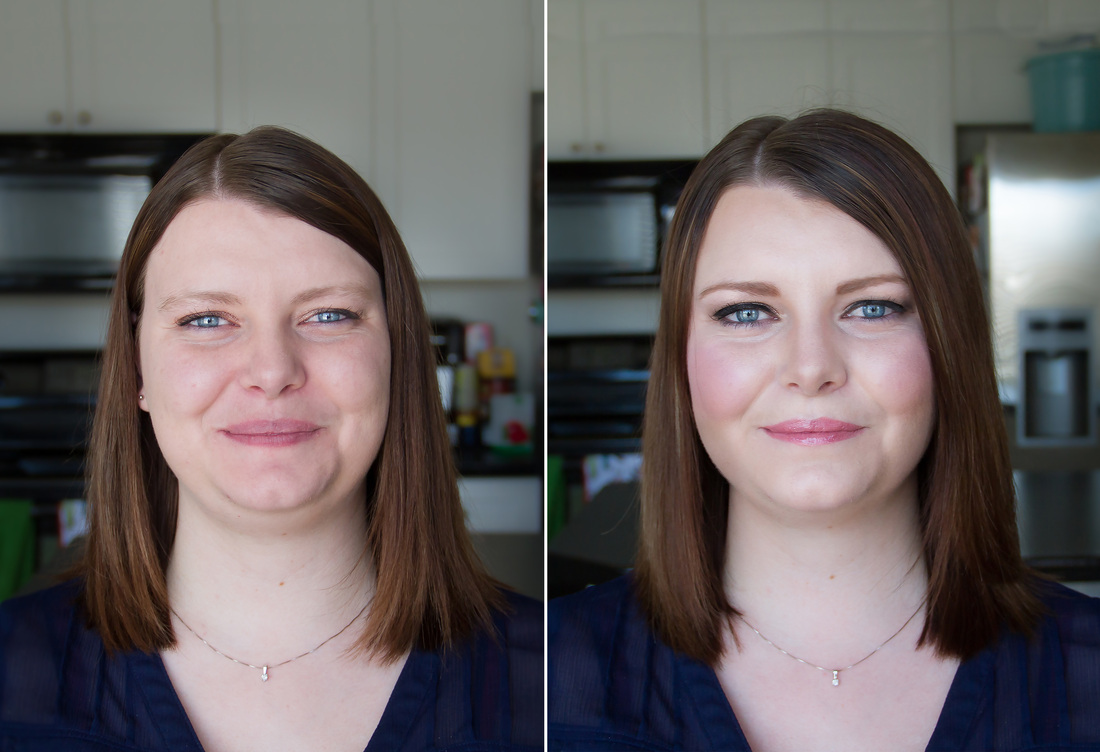 Isn't she gorgeous?!? Notice how I made very small changes. I know it seems like a huge difference when you put them side by side but I really kept it all neutral and soft. Products I Used... Contour Breakdown... 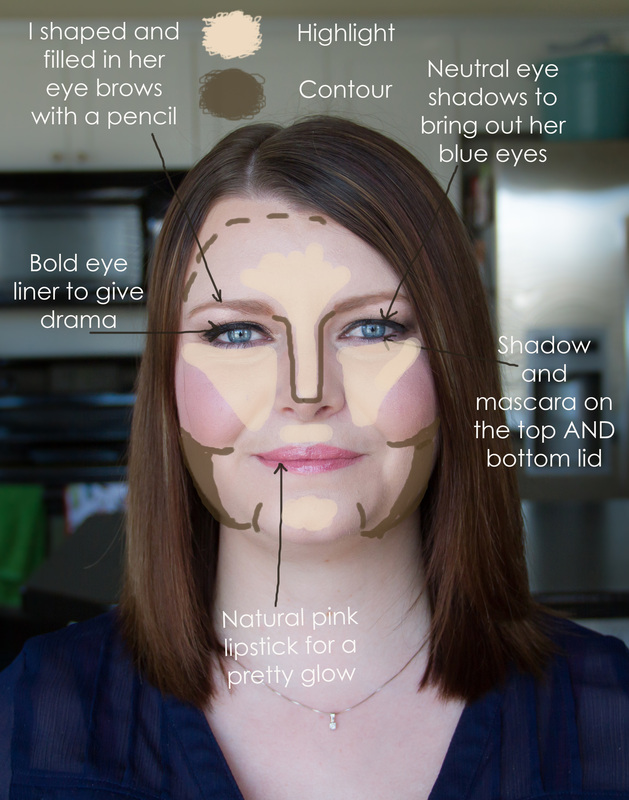 I kept with neutrals for this session. Neutral eye shadow, eyebrow color blush and lipstick. For a glam session I usually use false lashes but they aren't for everyone and to be honest, they were too much on her. The biggest impact of this makeover was the contour, highlight and proper placement of the blush. For round faces, make sure your blush is on the apples of your cheeks. Your contour color will be more heavily used below the cheek bones and towards the jaw to give a thinner look...  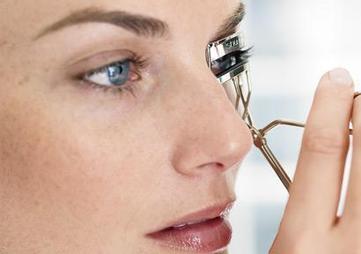 Heat It UP! To get curlier, flirtier lashes, take your hair dryer to your lash curlers and heat them up for five to eight seconds before curling them. This works and I promise you will be shocked and how well this works. 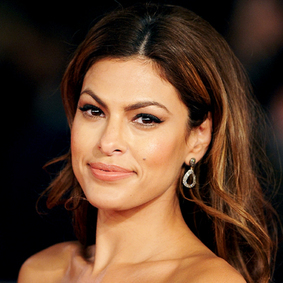 MIX MOISTURIZER AND BRONZER! Eva Mendes couldn't be more correct. "A shimmery bronzer is the perfect way to look alive. If you don't want to wear makeup, mix some with moisturizer. You'll look pretty but not made-up." 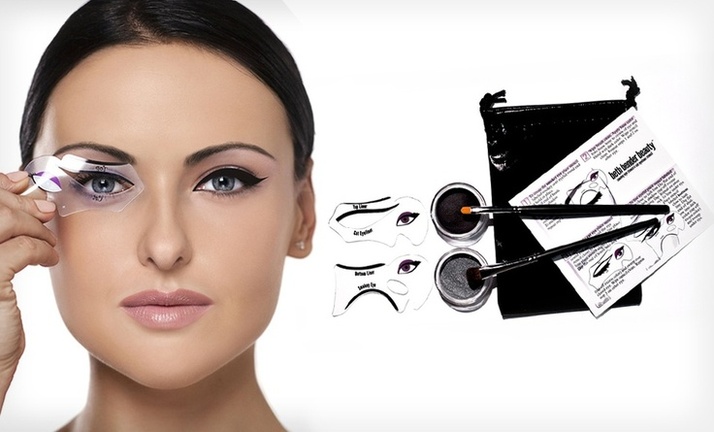 EYELINER STENCILS If you don't have a steady hand and you need a quick option for that beautiful eyeliner. Then THIS is perfect for you. The best That I've found is by Beth Bender Beauty. They are great quality and in seconds you get that perfect line. Its also great if you don't have a lot of time to spare but you want to make an impression. Here's the link to buy one... http://bethbenderbeauty.com/best-smoky-eyeliner-eyeshadow-kits/smokey-eye-cat-eye-liner-stencils.html  Thank you again for visiting and reading my makeup tips blog. I hope you learned something new and as usual here's some images from Kelsey's session. After finishing her makeup, we went outside and did some fun pictures.... 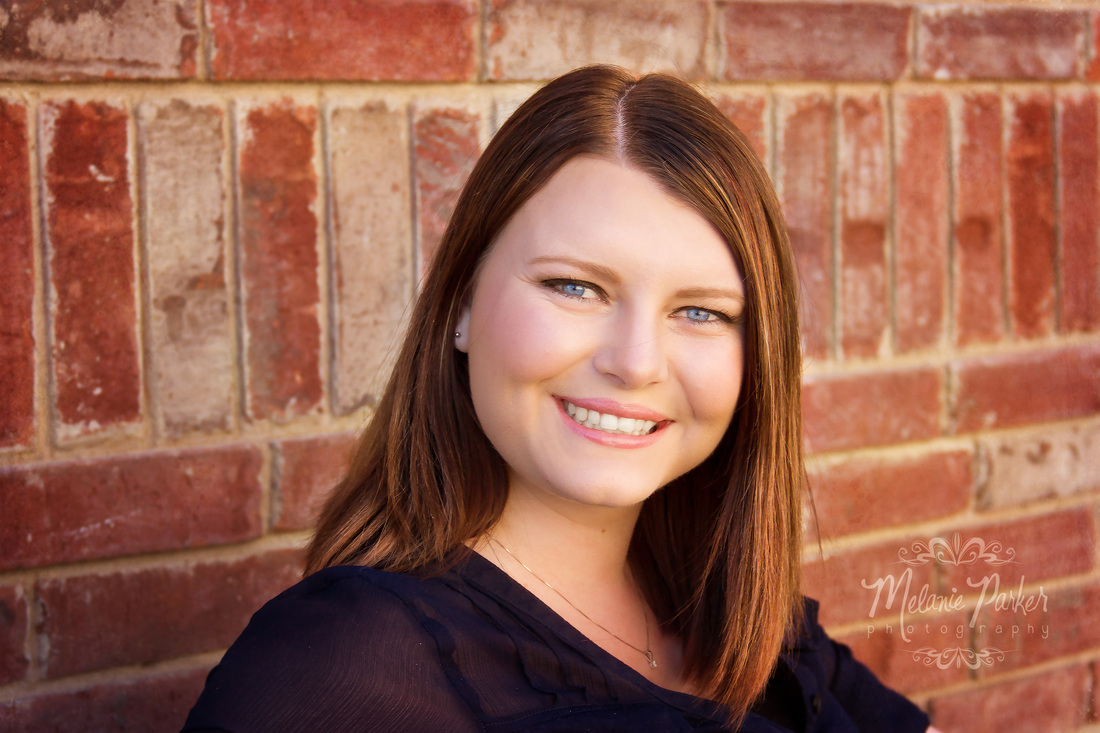 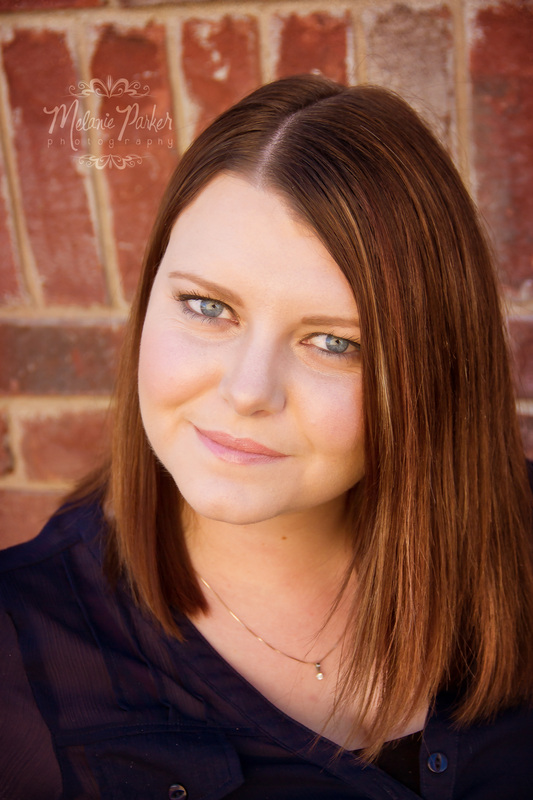 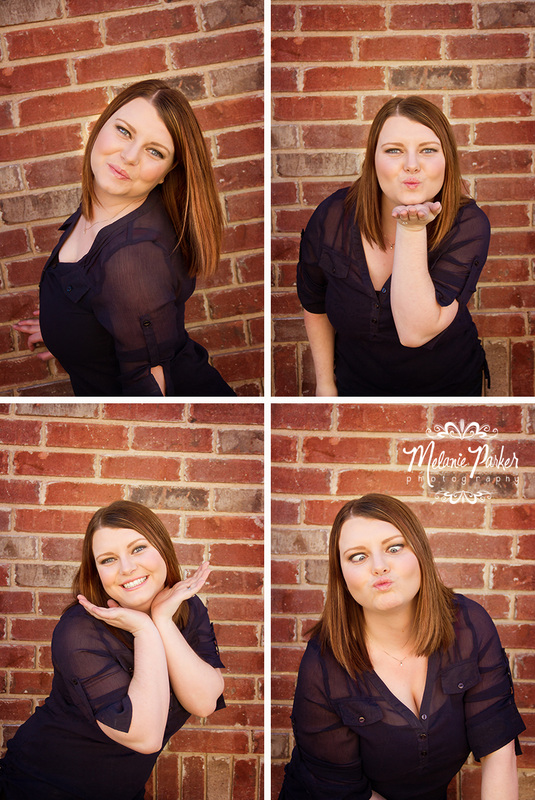
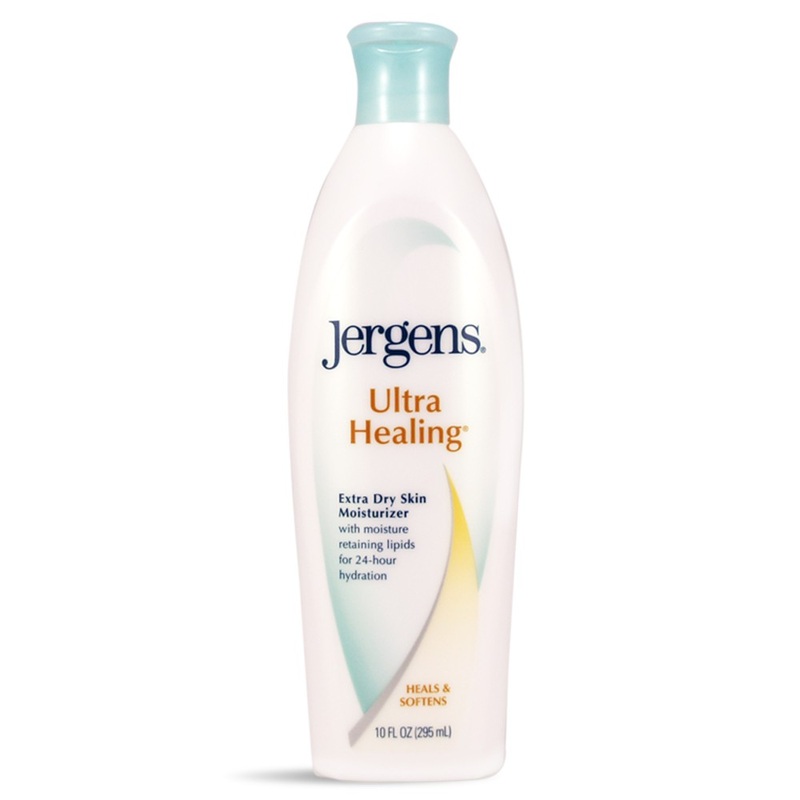
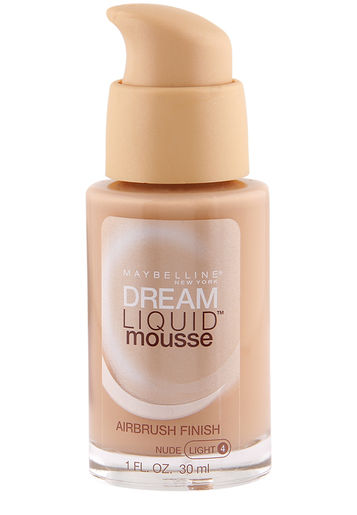
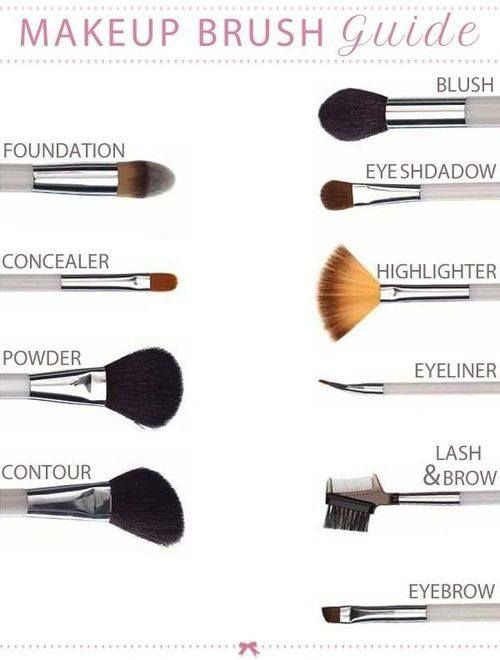
1 Comment
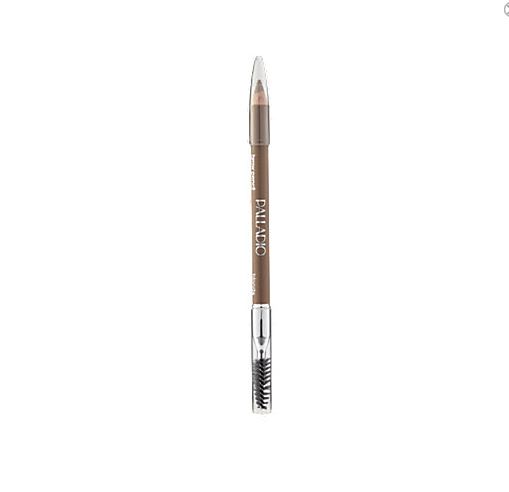
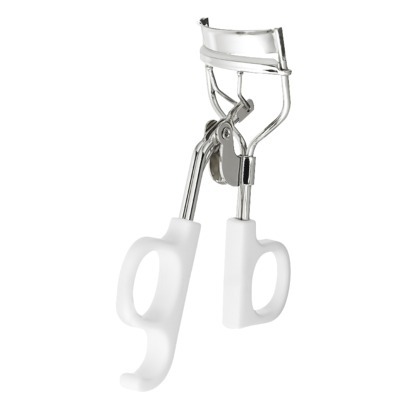
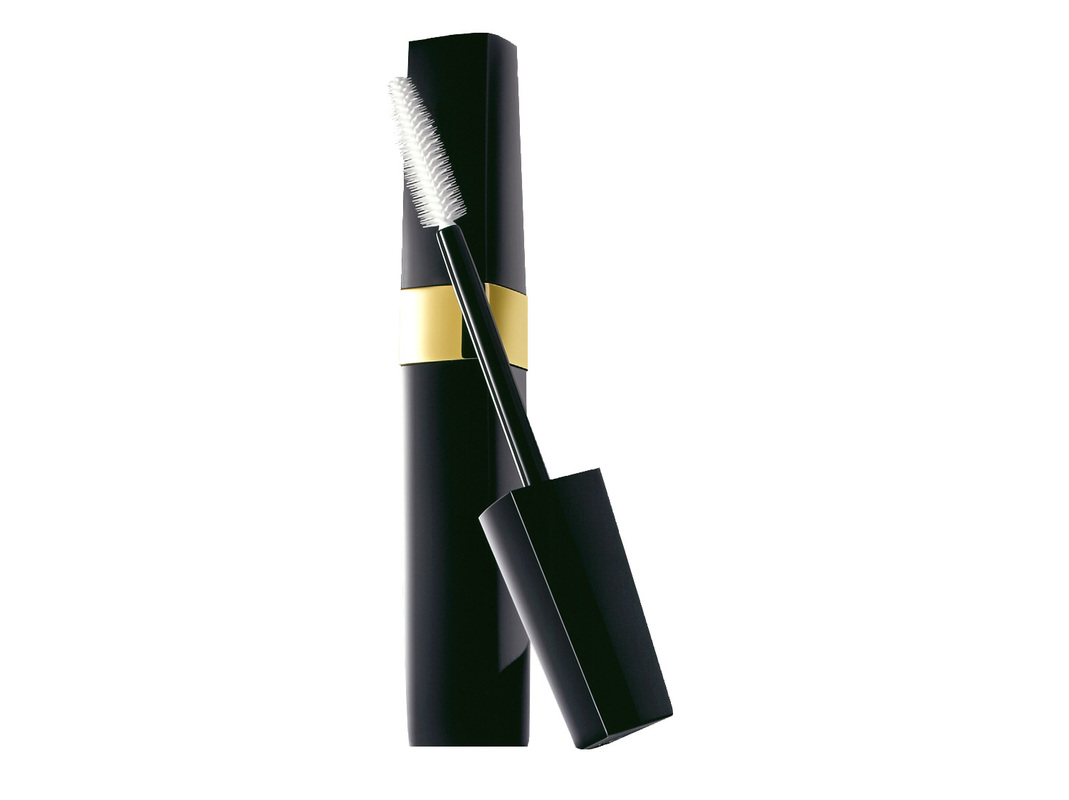
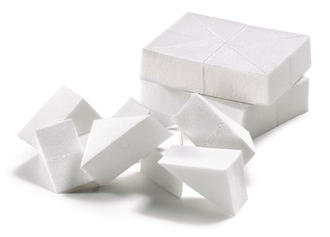
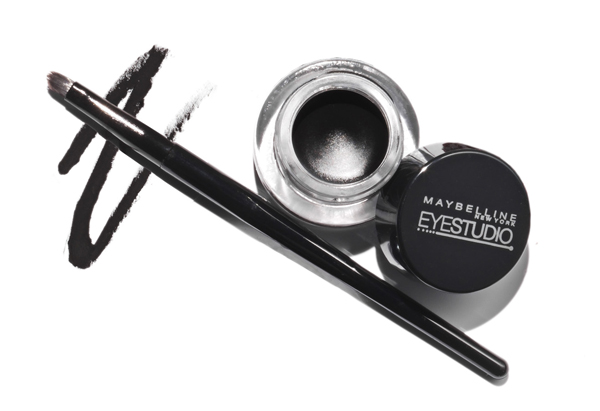
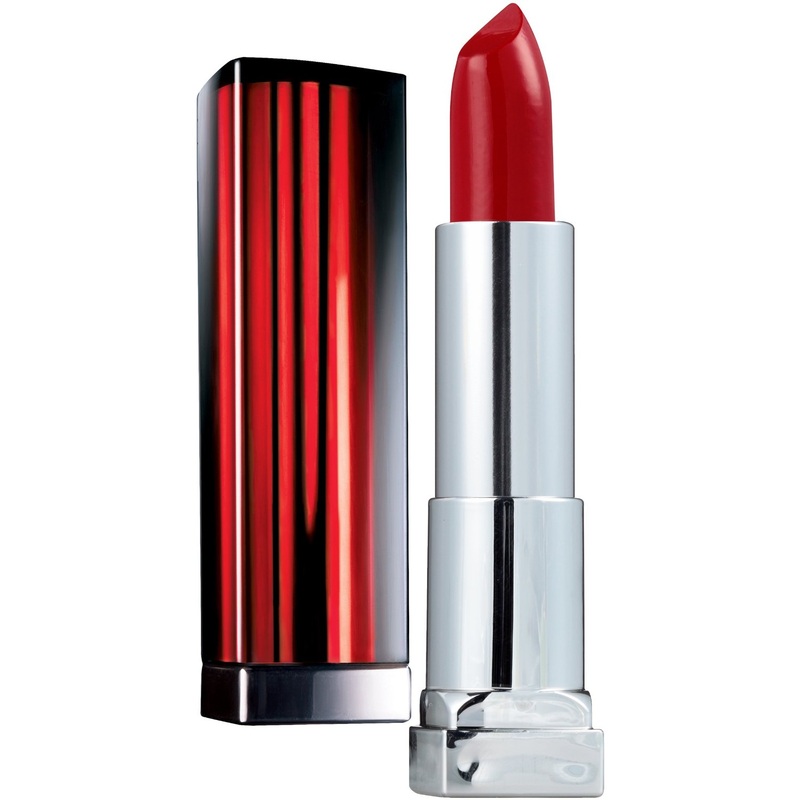
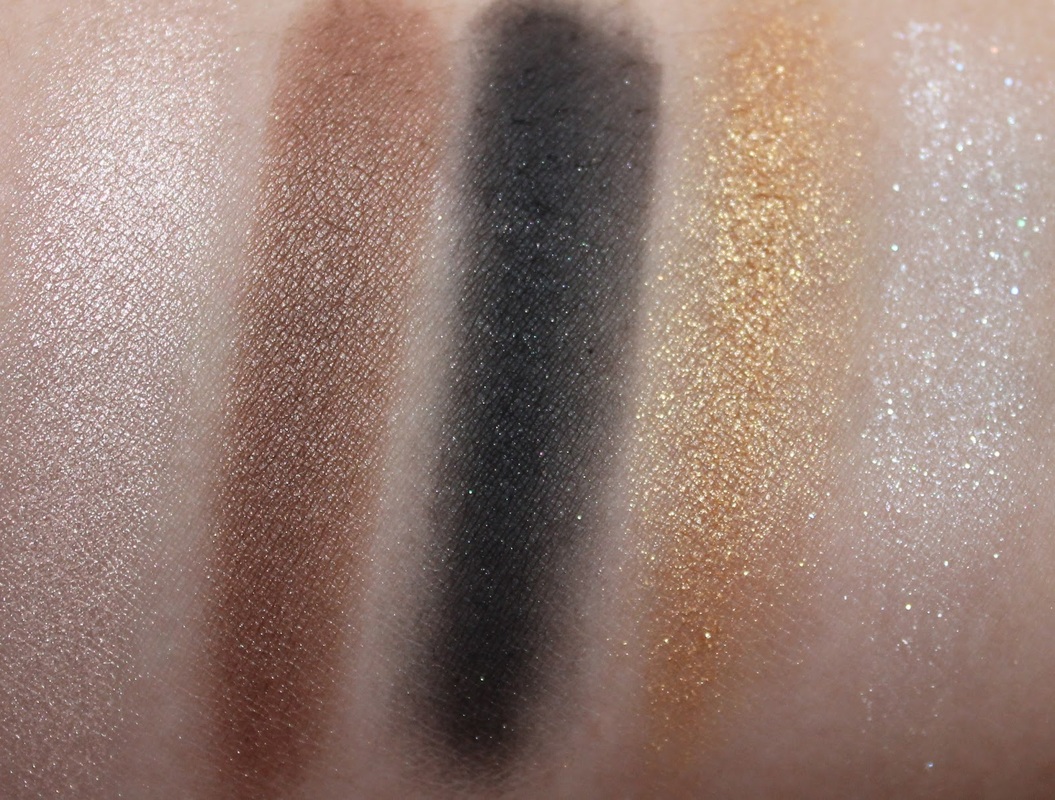
  Welcome to my photography website and makeup blog!! I'd like you to meet Leandra. Isn't she stunning?!?! P.s. the 2 images above have NOT been Photoshopped. I've known Leandra for a really long time. Her sister in law is a great friend of mine and was one of my best friends growing up. When I asked for model volunteers on Facebook and she was one of the first to volunteer, I was SO happy. Not only because I already know her but she has a darker skin tone which I really wanted to talk about, she was up for anything, ready to learn and had that gorgeous pear face shape. Obviously this post is going to center mostly around darker skin tones but there's always something for everyone to learn. :) It became apparent very quickly that we were going to start from the beginning. Maybe some of you can relate..... Leandra used to wear foundation and makeup and then as she got older, as we all do, her makeup just didn't look the same. "One day I put it on and it looked orange on my skin." How scary would that be? I think I'd be pushed away from foundation for a while too. It was also drying out her skin. I came to find out that it was a Mary Kay foundation that is pretty old now and I think its no longer in use. At least I hope so. So after throwing it away and not knowing where to start to find a new product, she went without for 10+ years. When I contacted her she owned eye shadow products and eyeliner. That's it. I was happy and sad at the same time. Happy that I could help her find the right products and sad that she had been without knowing what to do for her skin for so long. After I learned her skin type (dry skin) and studied her skin tone a bit, I gave her a list of instructions and recommended products and she bought it all! I was SO proud of her for jumping into it with no fear. Some of you may be wondering, "why is foundation so important. I never wear it. I don't think I need it." Well its just like its name people. Its the FOUNDATION. You've never heard a contractor say "I build this house without a foundation. It didn't look like it needed it." Now I understand that my example may be a bit exaggerated but Its true! If you want to get the most from your makeup routine, learn your skin type, (we will talk about that) learn your skin color and get a good foundation. Now lets move on to the AMAZING questions Leandra asked me when she wanted to know WHAT to buy and how to know if it was right for her.... She was so eager and asked such great questions I thought I'd share some of our conversation..... Me: Do you have any foundation? Leandra: I have really dry skin. It made it worse so I stopped buying it. Me: Here's some that I recommend... Most liquids will probably work with you as long as you have a good moisturizer to go underneath the foundation. I use Neutrogena moisturizer for my skin but you can even use a non scented lotion with no alcohol and be great too. Leandra: How do you try a foundation? Me: You would try a smidge on the inside of your wrist or on the back of your hand as long as the back of your hand is close to your neck color. (you always match your foundation to your neck color) some foundations are closed and you can't open them. that's when you simply hold it next to your skin and see which one looks like the best match. Leandra: I will have to buy more mascara, and blush.. Does that matter on shade or how do I choose that? Me: Its all good! with your darker skin try not to go too light. you need something with more depth to it. If your lips are naturally pink and rosy, then you can match your blush to them by going slightly darker or matching them. If they aren't really pink than hold the blush to your arm and see which one compliments your skin the best. We used a lot of HER new makeup products. So lets see what I used.... Hover over the images or click on them to see a small description. After seeing what I used, lets see how I used them... 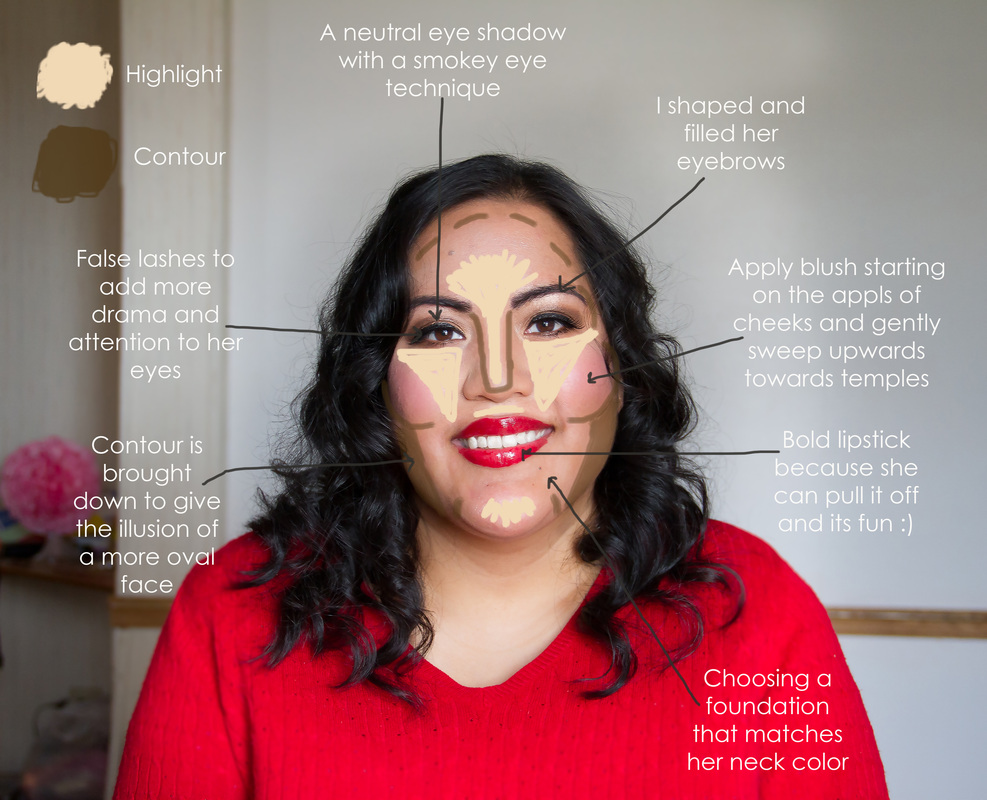 Products: I'll be repeating myself on this topic a lot. When you're being photographed, I always recommend that you wear makeup that gives you a matte finish. There's nothing worse than having that horrible shine across your face in pictures because you used the wrong foundation. You might be asking, "can't you Photoshop that out?" Its a good question but the answer is no. You want to GLOW in pictures, not sparkle or have that greasy shine. The best product for you really depends on your skin tone and sensitivity. If you have clear, normal skin, you can wear basically anything. If you're like me, where I have the occasional blemish and a couple acne scars from my teenage years I want to hide, and dry skin. Than you'll want something with a bit more coverage like cream products. As I mentioned before, Leandra has dry skin. One of the key's to getting the right foundation and overall makeup is to know what skin type you have and how to care for it. keep in mind that you might be one or two of these skin types. For example, my sister has oily skin but also really sensitive skin so her skin and makeup routine works around those two things..... 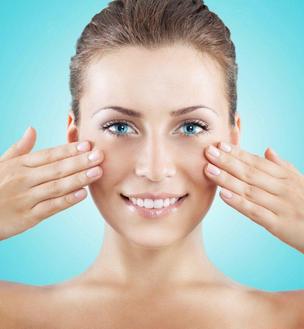 Normal Skin is not too dry and not too oily. It has: ~No or few imperfections ~No severe sensitivity ~Barely visible pores Even though normal skin is ideal you still need to care for it properly.... ~Detoxify - cleanse for a fresh start every day ~Hydrate - to maintain skins natural moisture levels ~Protect -guard against environmental stress and damage 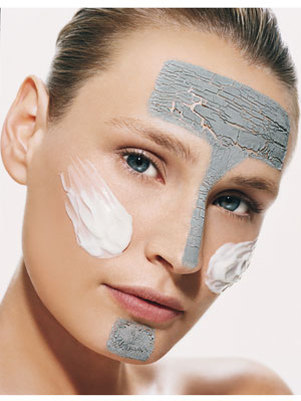 Combination Skin Type A combination skin type can be dry or normal in some areas and oily in others, such as the T-zone (nose, forehead, and chin). Many people have combination skin, which may benefit from slightly different types of skin care in different areas. Combination skin can produce: ~Overly dilated pores ~Blackheads ~Shiny skin How to care for combination skin: You might find that its best to use different products on different parts of your face. For example, you may need lighter-weight gels, liquids, or oil-absorbing products for your T-zone and lotions or creams for the drier parts of your face. Or it could mean using an acne treatment over areas where you breakout and moisturizers only over drier areas, including around the eyes. ~Use a gentle Cleanser ~Protect from sun damage ~Spot-treat the different skin types on your face 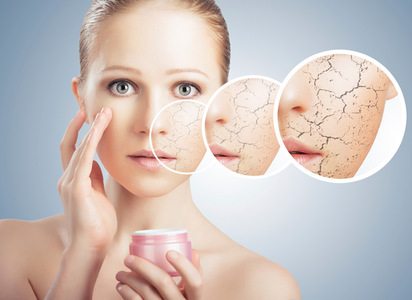 Dry Skin Type Dry skin can produce: ~Almost invisible pores ~Dull, rough complexion ~Red patches ~Less elasticity ~More visible lines When exposed to drying factors, skin can crack, peel, or become itchy, irritated, or inflamed. If your skin is very dry, it can become rough and scaly, especially on the backs of your hands, arms, and legs. Dry skin may be caused or made worse by: ~Genetic factors ~Aging or hormonal changes ~Weather such as wind, sun or cold ~Ultraviolet (UV) radiation from tanning beds ~Indoor heating ~Long, hot baths and showers ~Ingredients in soaps, cosmetics or cleansers ~Medications Here are some tips for taking better care of dry skin: ~Take shorter showers and baths, no more than once daily. ~Use mild, gentle soaps or cleansers. Avoid deodorant soaps. ~Don't scrub while bathing or drying. ~Apply a rich moisturizer right after bathing. Ointments and creams may work better than lotions for dry skin but are often messier. Reapply as needed throughout the day. ~Use a humidifier and don't let indoor temperatures get too hot. ~Wear gloves when using cleaning agents, solvents or household detergents. 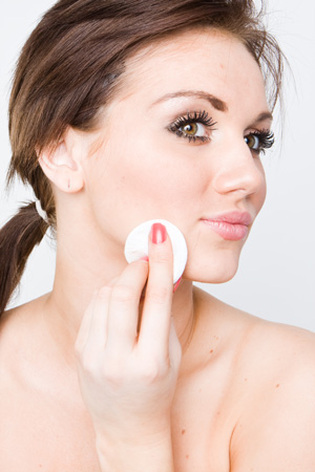 Oily Skin Type Oily skin can produce: ~Enlarged pores ~Dull or shiny, think complexion ~Blackheads, pimples, or other blemishes Oiliness can change depending upon the time of year or the weather. Oily skin can be caused or made worse by: ~Puberty or other hormonal imbalances ~Stress ~Exposure to heat or too much humidity To take care of oily skin: ~Wash your skin no more than twice a day and after you sweat. ~Use a gentle cleanser and don't scrub. Massage it into your skin. ~Don't pick, pop, or squeeze pimples. This prolongs healing time. ~Use products labeled as "noncomedogenic." They tent not to clog pores. 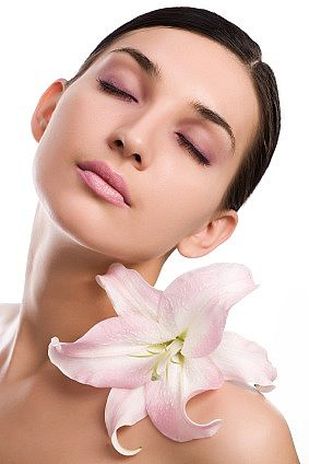 Sensitive Skin Type If your skin is sensitive, try to find out what your triggers are so you can avoid them. You may have a sensitive sin for a variety of reasons, but often its in response to particulare skin care products. Sensititive skin can show up as: ~Redness ~Itching ~Burning ~Dryness The Basics of Skin CareThese tips will help your skin stay healthier no matter its type you are. ~Use a broad spectrum sunscreen that blocks both UVA and UVB rays. Avoid direct sunlight and wear a hat and sunglasses. ~Don't smoke. ~Stay Hydrated. ~Wash your skin thoroughly every day and never wear makeup to bed. ~Moisturize your skin. I hope that you can now start to understand more about your skin type and how to care for it. I personally have combination and sensitive skin. Here's some of the products I use for my skin... Hover over or click the images to get a small description.  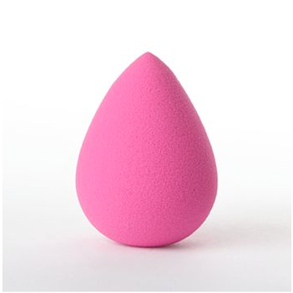 The BEAUTY SPONGE... I LOVE this product. I used the disposable ones on Leandra because I can just throw them away after but THIS product is a reusable sponge. On average, using it every day, it lasts for about 3 months or more. depending on how you care for it. It only costs about $0.2 a day! The other great thing is that you can use this to blend ANY foundation product. Liquid, cream and powder. I would personally use brushes for powder but at least you know what it can do. Here's the link to buy one. Mine will be arriving soon :) http://www.sephora.com/beautyblender-P228913?SKUID=1151877&om_mmc=ppc-GG&mkwid=FC4NqsgZ&pcrid=37751273919&pdv=c&site=us_search&country_switch=us&lang=en TIP: When you apply cream products to your face, make sure you use a sponge and don't slide it on your face. Make sure you always stipple it into your face. Stipple: To apply with many light dabs in to your face. Below is a gallery of the products I used in the finished image. Hover or click on the images for more on each one. 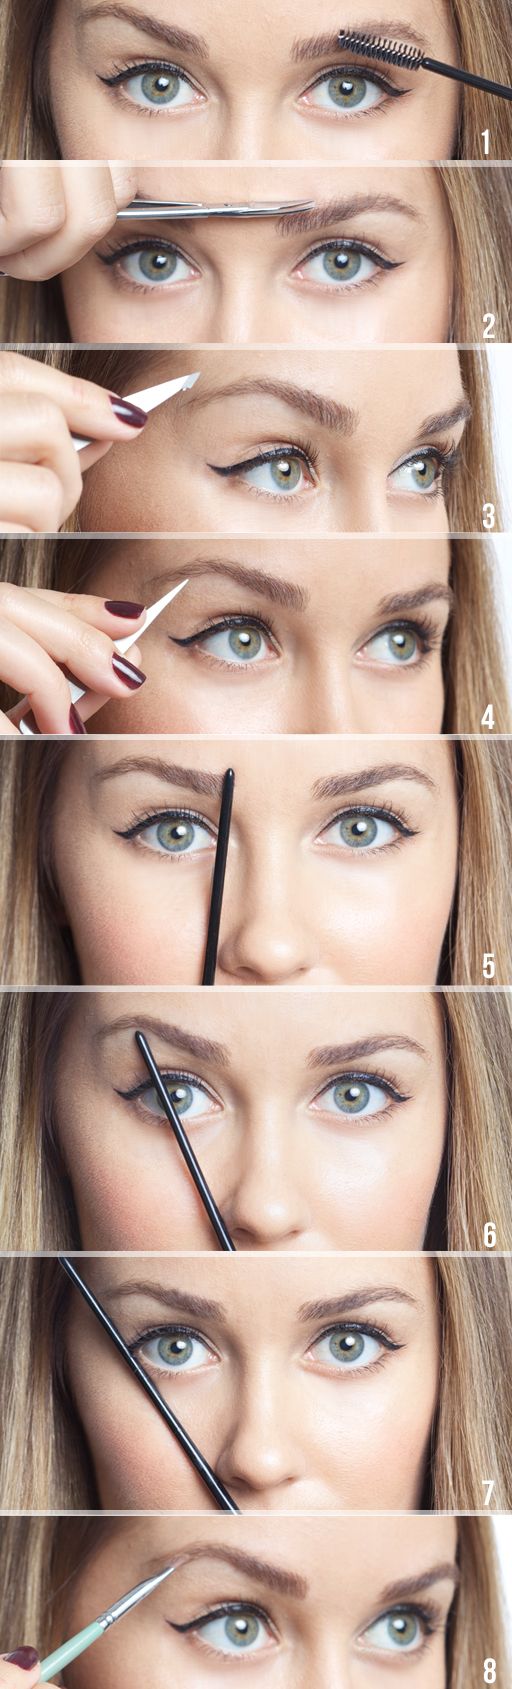 Brush them upwards. Trim the very ends with small scissors. Pluck unwanted hairs above eyebrow with tweezers. Pluck unwanted hairs below eyebrows with tweezers. The beginning of your eyebrow line should be straight with the edge of your nose. If your eyebrows can be arched, then it should begin on the outside of your eyeball. You can use the method in the picture as well. Holding a small brush or stick at a 45 degree angle from your nose to the edge of your eye should be where the eyebrow ends. Fill in your eyebrows with a cream, eye shadow or pencil. 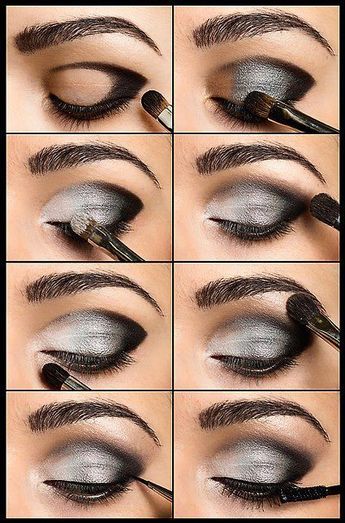 Lets talk about the EYES. I obviously didn't use these colors on Leandra. I used a cream, gold and black color palate for her but I used this technique to make her eyes stand out. You can use whatever color combination you'd like for this look. 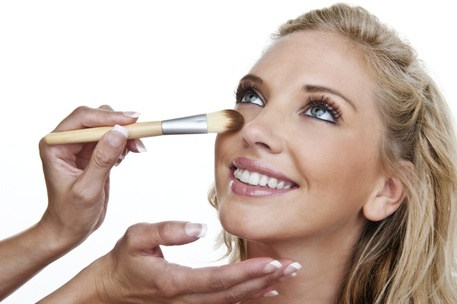 LOOK UP! When Putting on eye shadow or eyeliner, the easiest and best application happens when you tilt your head back slightly and raise your eyebrows. For eyeliner, use your non-drawing hand to stretch the skin on the outside of your eye a bit. Raise your eyebrows so that your eyelid does not block your lash line at all.  Thank you for coming to my page and reading. WHEW! This was a really long post. I hope there was something you learned and that you can use some of the information for yourself. I honestly never thought I'd be writing blog posts about anything. I always thought that blog writing wasn't something I wouldn't ever do. Its funny how your life chooses you sometimes :) As usual, to end my makeup blog post, I'm going to share some of my favorites from Leandra's Glam Session.   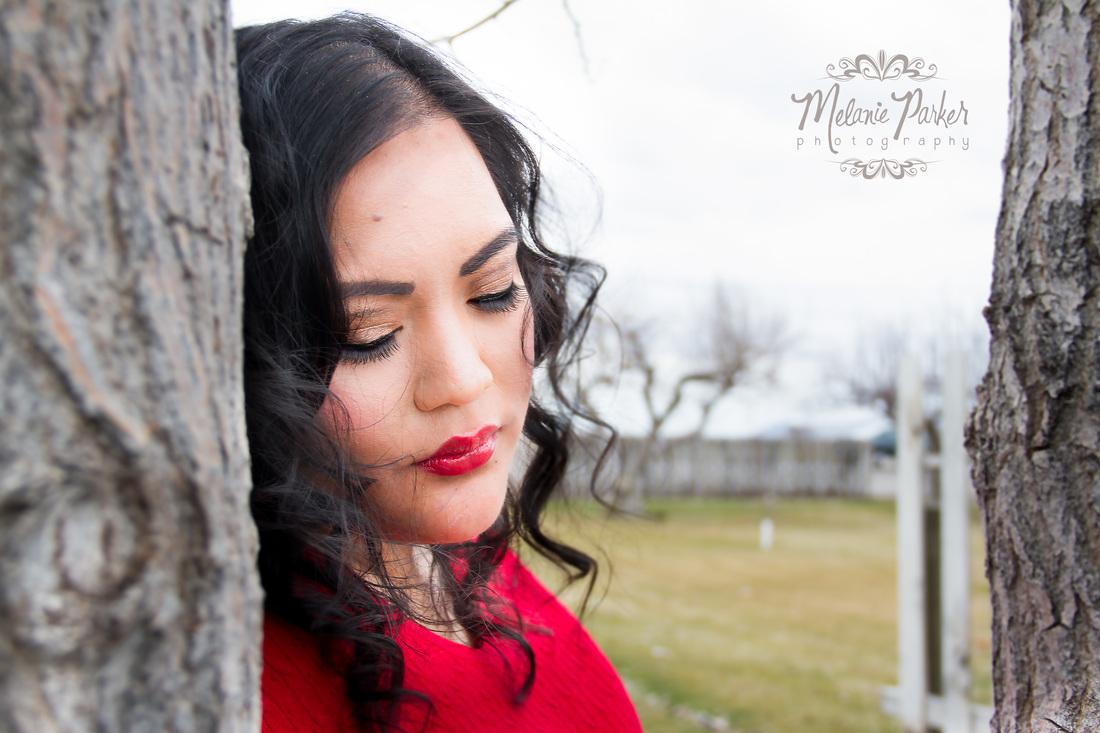 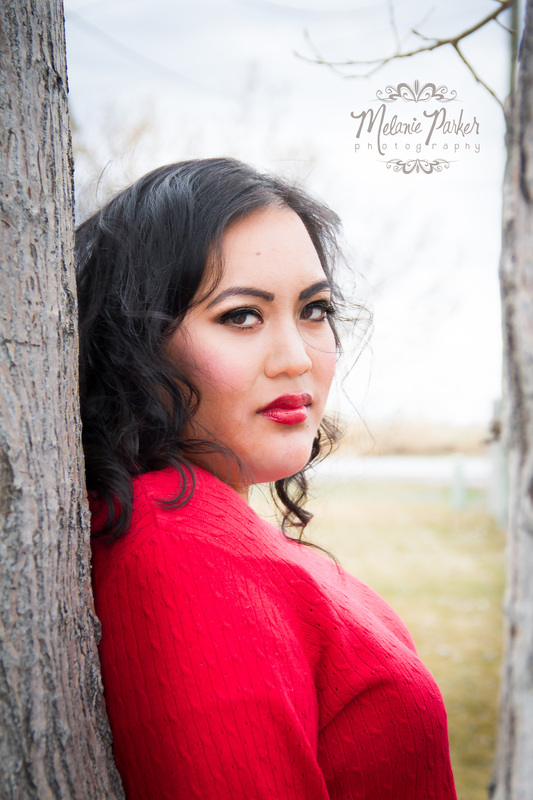  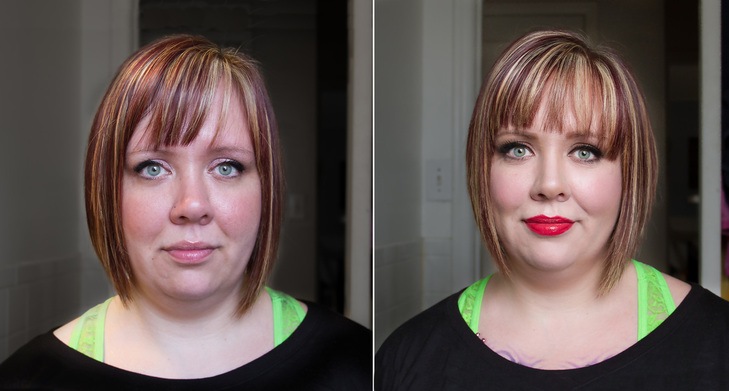 Welcome to my blog and website!! My model for this post was a friend of mine and we used to work together at JC Penny Portraits. I've known Amanda for a few years now and I was super excited to have her as one of my models. One of the most important things I've learned doing makeup for people is that to do it properly, you HAVE to know and understand face shapes. Amanda's face shape was a bit more challenging to figure out. At first I thought, "oh, she's an oval." But then, I noticed her face was longer than an an average oval. Was she an oblong? No, her chin and hair line were too square. Then at last, I found that she was mostly a rectangle and the only difference is her jawline which isn't quite as square as your regular rectangle. That process got me thinking, "It shouldn't be THIS hard to find someone's face shape." Then I realized that most of the people I've helped in the past with makeup and hair had no idea what face shape they were. There are a lot of guides on pinterest or google but most have only 5 face shapes examples. The Heart, Round, Square, Oval and Pear and a lot of them are a bit confusing. Did you know That there are actually 9 face shapes?? 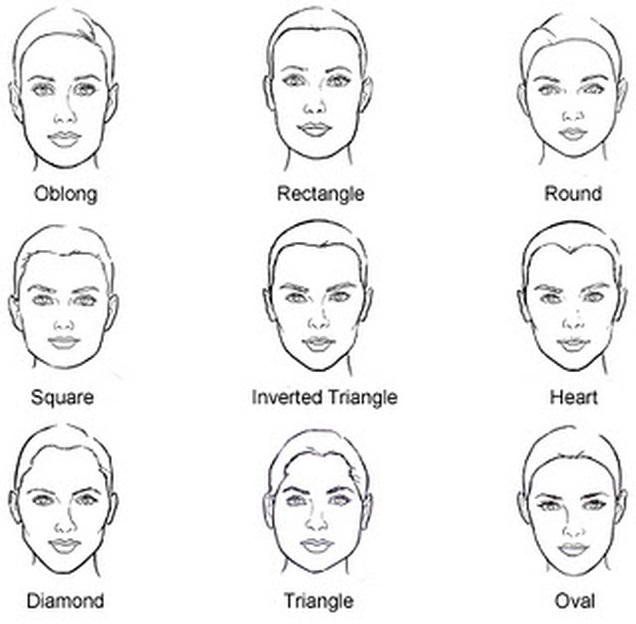 Everyone is different and THAT'S OKAY!!! I remember wanting to have the pretty oval face shape because they can do anything. I didn't like my sharp angles and jaw line because I thought it made me look chubby and I was limited to the type of short hairstyles I could do. But now, many years later I love my angles because I see them as strong instead of chubby. I also see my limit to short hair styles a blessing because then I would probably never grow out my hair :) Find your face shape, understand it and LOVE IT!! Love even the weird and uncommon parts of it. As a beautiful woman once said...  Here's a great guide to help you find your face shape... 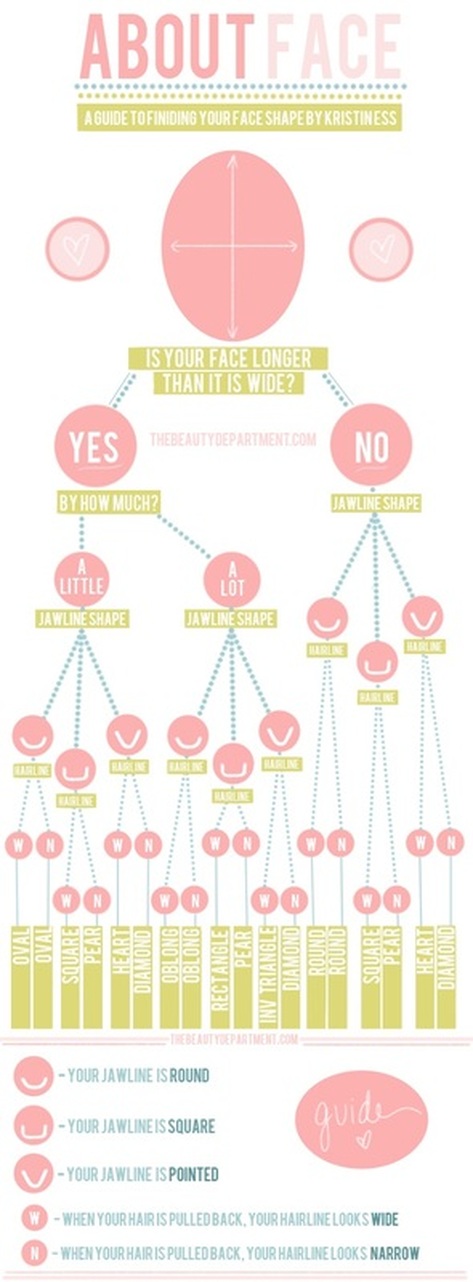 Finally after doing my research, I realized Amber has a rectangle/oblong face shape! Because her face shape is a combination of oblong and square, there were some things that I had to do differently than most. For example, on a square face like mine, most of the angles used are angled upwards towards my temples to give a lifted and thinner look. She has that square forehead but its also long which means that those angles aren't really necessary. Instead I treated her cheeks more like an oblong face shape and bringing her contouring slightly lower, towards her ears. To learn more about the basics of contouring you can visit my first post.... http://www.melanieparkerphotography.com/3/previous/3.html On a side note, her hair cut is perfect for her face shape. If there's anyone else with this face shape and you're considering a hair cut, THIS is awesome. Its a blunt bang with a layered A-line. So now lets get into the makeup fun! What I used... (Hover or click on the images to get a description) Products: I said this in my previous post but I have to mention it again. When you're being photographed, I always recommend that you wear makeup that gives you a matte finish. There's nothing worse than having that horrible shine across your face in pictures because you used the wrong foundation. You might be asking, "can't you Photoshop that out?" Its a good question but the answer is no. You want to GLOW in pictures, not sparkle or have that greasy shine. The best product for you really depends on your skin tone and sensitivity. If you have clear, normal skin, you can wear basically anything. If you're like me, where I have the occasional blemish, dry skin and a couple acne scars from my teenage years I want to hide, than you'll want something with a bit more coverage and more moisturizing like cream products. TIP: When you apply cream products to your face, make sure you use a sponge and don't slide it on your face. Make sure you always stipple it into your face. Stipple: To apply with many light dabs in to your face. Now that you've seen WHAT I used, lets see HOW I used it... 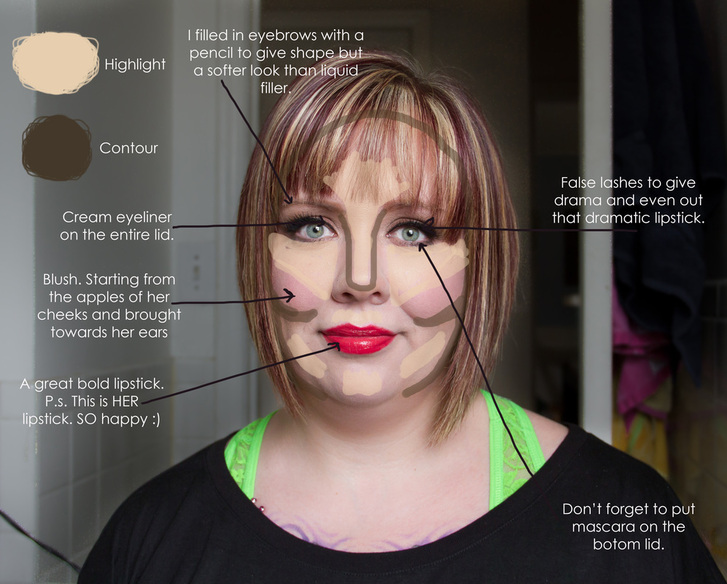 FACE: I first picked a foundation color that matched her neck color. ALWAYS make sure to match your foundation with your neck. The Maybelline Fit Me sticks glide really well onto your skin but you'll want to blend it into your face with a stipple brush to give it a beautiful finished look. The contour color is also a Maybelline Fit ME stick only a few shades darker than the foundation. After I applied it on her face like the image above, I used another stipple brush and small angled brush to blend. The blush was started from the apples of her cheeks and swept it gently towards her ears. Because she already has a long face keeping it more of a horizontal line looks better. Bringing it up towards her temples would only make her look longer and she doesn't need that. PLEASE do not make a harsh blush line on your face. It should look like a soft blend from your cheeks towards temples or ears. (depending on your face shape) As you can see in the image, the highlighter/concealer was used in on her nose, small area of her forehead, under eyes, above lips on chin and on the cheeks between the cheek and chin contour color. I applied it on her face just like the picture and then blended it into her skin with a stipple brush. To add a bit of a "glow" I used the Blend N Glow lightest shade on all the places I blended her highlighter. Finally the face portion was completed with a sheer powder to set everything. 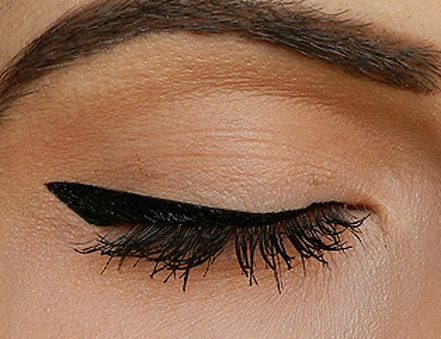 From there I moved onto her eyes. After curling her lashes, I applied her eyeliner on the entire lid with it being thicker from the middle to the end. The image is what I did for Amanda because she has round eyes and doing this method makes them look more oval. I've found that most people have a really difficult time with which eyeliner to choose and applying it. I really love the cream eyeliner from Maybelline but if you like a much softer look than a pencil would be great for you. Pencils/pens are great but you're limited to the creativity. If you have a steady hand then a liquid liner would be great for you. Then of course we added the mascara and then the false lashes. The final part to her eyes and one of the most important is the eyebrows. Just like your hair frames your face, your eyebrows frame your eyes. You'll want to make sure that you keep you're eyebrows within 2 shades of your hair color or match it. If your hair is platinum blonde than you'll want to keep them only 2 shades darker. Below is an image on HOW to fill in those brows. You can use a pencil like I did on Amanda. You can also use eye shadow, although it doesn't last as long as a cream brow filler.  Finally the last part of this look is the lips. Forgetting to put color on your lips is like leaving the house without your wallet or purse. Its a bad idea. For Amanda we did a bold red lipstick, which I love and it really looks amazing on her. You don't have to be so bold but even if its a simple pink that compliments your skin tone, its better than nothing. THANK YOU again for reading and I'm going to end this post with a couple glam pictures I took of Amanda. My next post will be on PEAR face shapes. 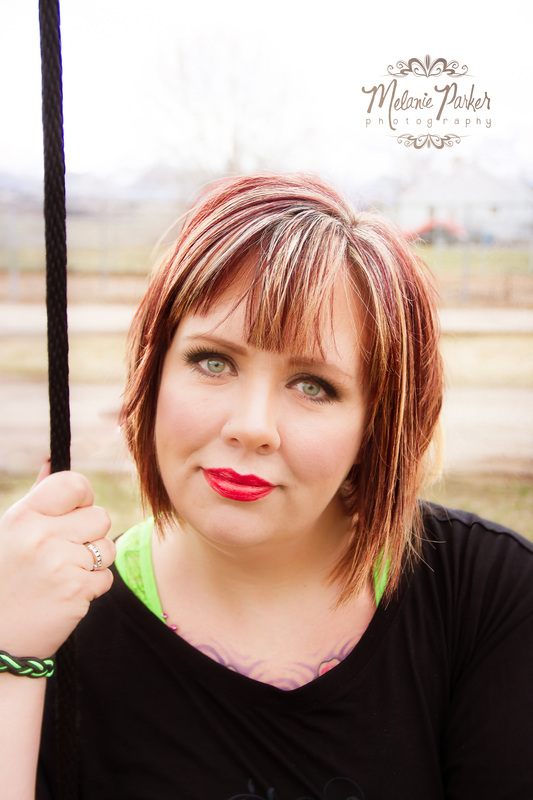 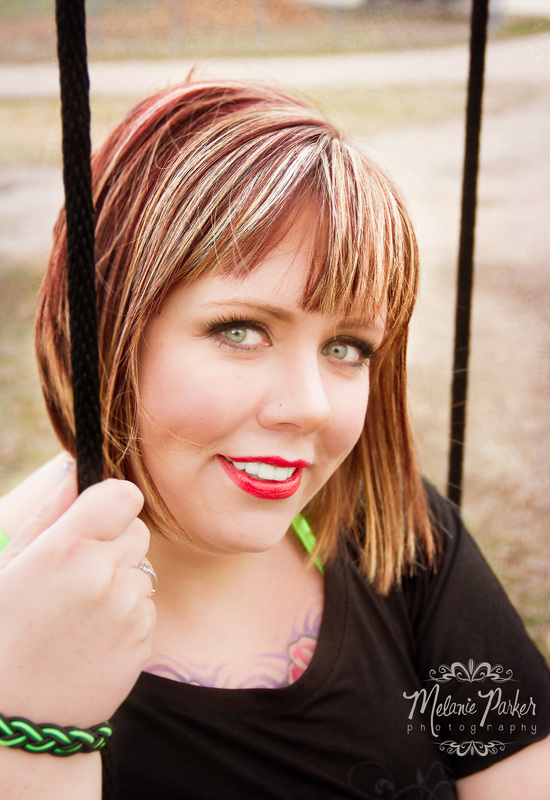  |
Archives
July 2014
Categories |


 RSS Feed