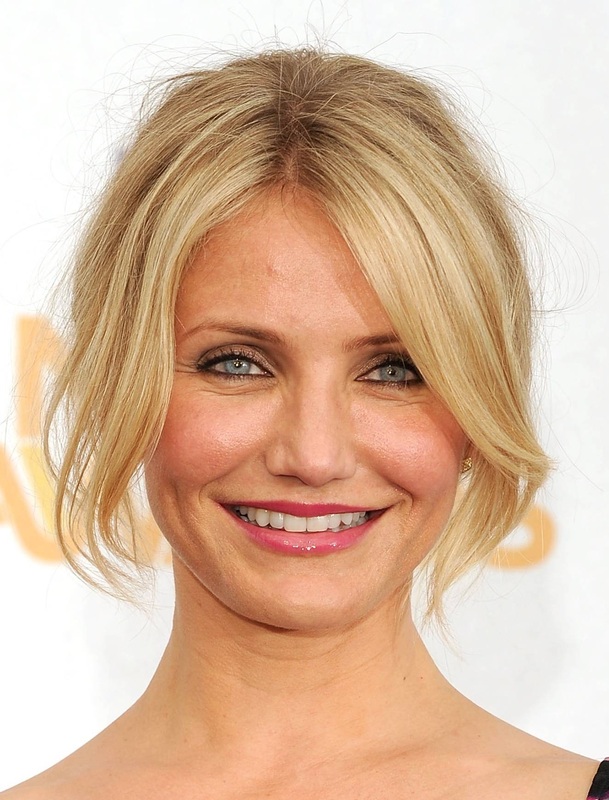
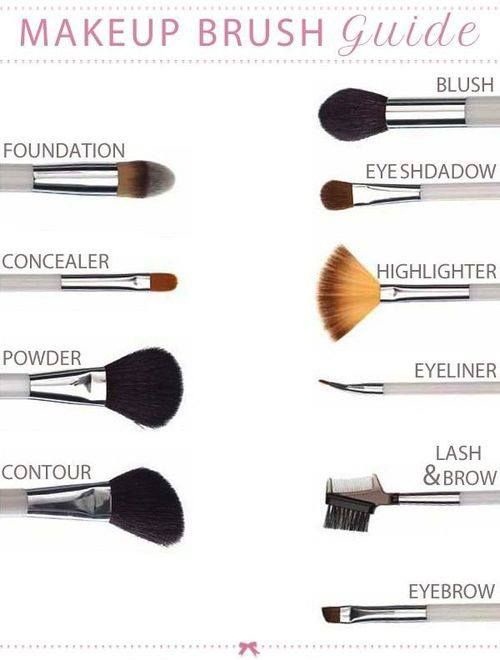
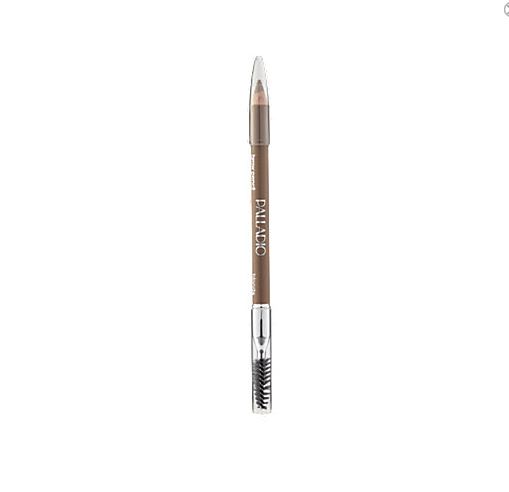
 Welcome to my photography website and makeup blog! Today I'll be talking about ROUND face shapes and how to contour them. My model this week is Kelsey. I have to say that out of all my models so far, she was the MOST prepared. She had some great products and high quality brushes. It really gave me a lot to play around with and I knew that we were going to have lots of fun. I also loved the colors and tones she chose. All of her products where pretty, soft and complimentary which is spot on for round faces. Round faces are one of my favorites because a round face is naturally soft and feminine looking. Its always best to keep everything rather gentle. The saying "Less is more" absolutely applies for round face shapes. The softness is incredibly romantic and There are some celebrities who share this face shape.... 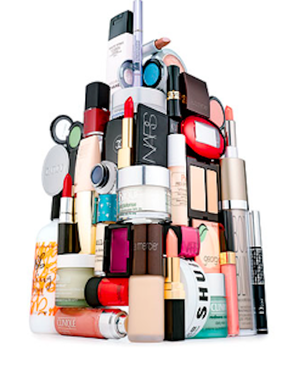 Products: I'll be repeating myself on this topic a lot. It must be important right? When choosing the right products for your face it can seem a bit daunting. There are thousands of options with a variety of prices. When you're being photographed, I always recommend that you wear makeup that gives you a matte finish. There's nothing worse than having that horrible shine across your face in pictures because you used the wrong foundation. You might be asking, "can't you Photoshop that out?" Its a good question but the answer is no. You want to GLOW in pictures, not sparkle or have that greasy shine. The best product for you really depends on your skin tone and sensitivity. If you have clear, normal skin, you can wear basically anything. If you're like me, where I have the occasional blemish and a couple acne scars from my teenage years I want to hide, and dry skin. Than you'll want something with a bit more coverage like cream products. Lets break it down... Price: Lets face it, if your a mom like me, a student or just don't have a lot to splurge, then price can sometimes be THE deciding factor. But it should NOT be an excuse. There are many products that I love and can be found at Walmart, Albertsons and basically any drugstore. here's a few of my favorites... Maybelline, Lorielle Paris, Revlon and Elf. I recently did a price comparison of some drugstore options and then the professional competition. Specifically the MAC makeup line. I priced out JUST the products for proper contouring and my drugstore products came out under $40.00 compared to the professional brand coming in at just under $200.00. Its honestly all about the technique, not the price tag. Skin Type: I went over this in depth in my last post..... http://www.melanieparkerphotography.com/3/archives/03-2014/1.html Your skin type is one of the most important. Learn what kind of skin you have, then research a product to work well with what you need. If you try something and it doesn't work, its okay! Yes it sucks to have felt like you wasted money on a product you hate but sometimes that's the only way to find what works best for you. Process of elimination people! Skin Tone / Color: I can't say this enough. Always, match your foundation to your neck color. Preferably the lightest part of your neck. The whole Idea is to look natural and effortless. Not stressed and fake. You also want to keep in mind your SKIN TONE. Everyone has different hues to their skin. Just like each time of day and season gives off its own hue of color, so does our skin. Here's a wonderful skin tone test that I found from "Paula's Choice, Skin Care." 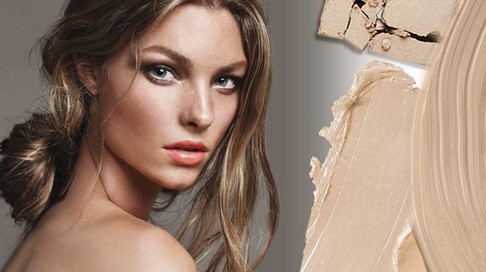 SKIN TONE TEST: Knowing whether your undertone is warm, cool or neutral is the key to ensuring that your foundatoin matches your skin and color products look natural. There are several ways to determine your skin tone, but here are some quick methods to keep in mind:
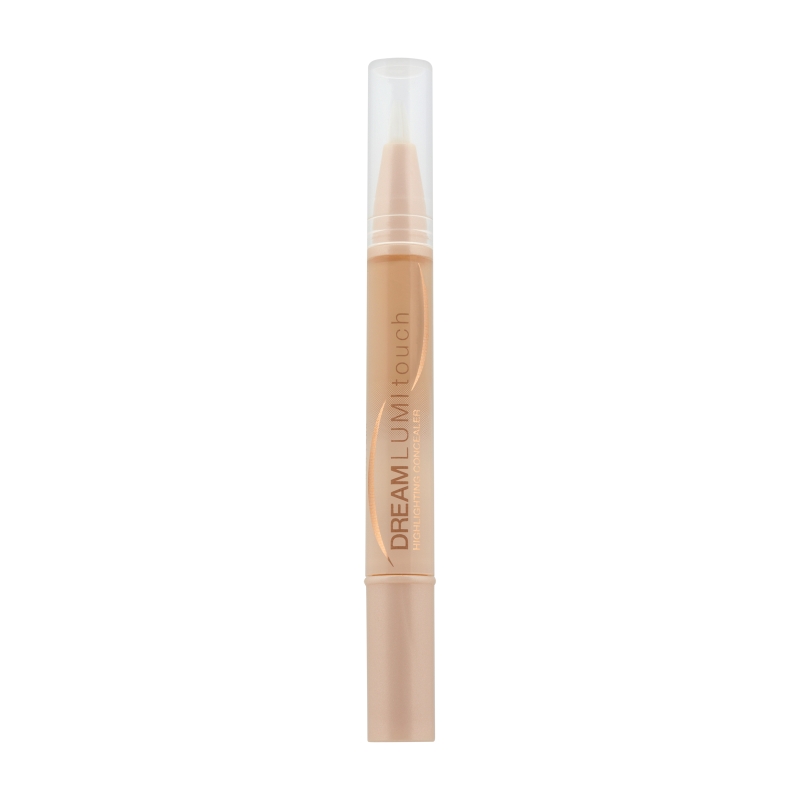
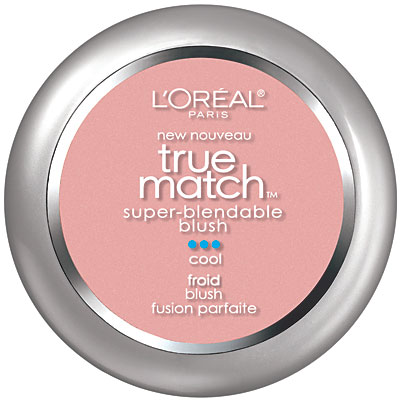
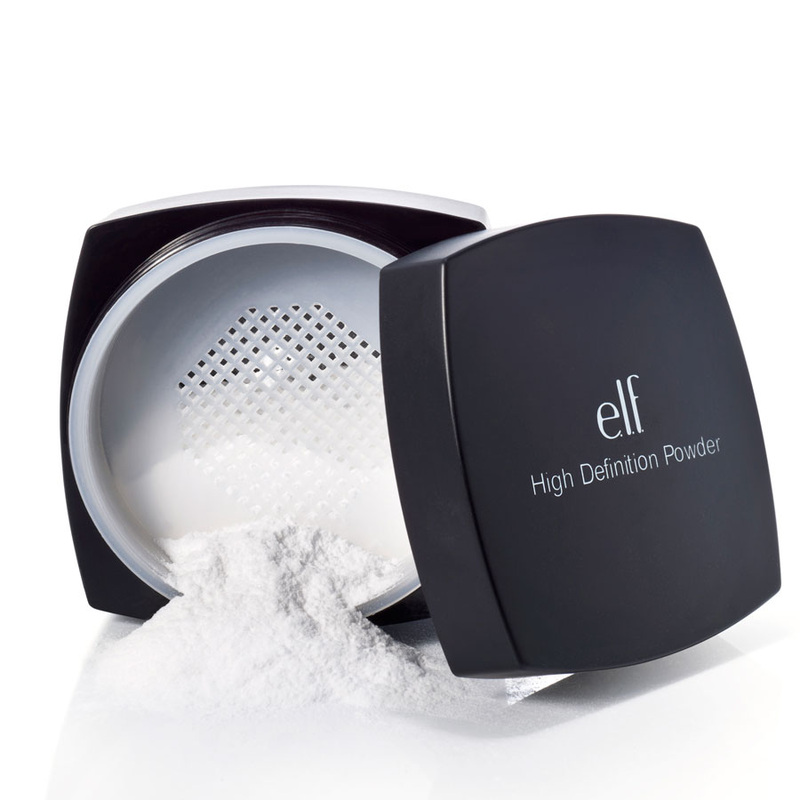
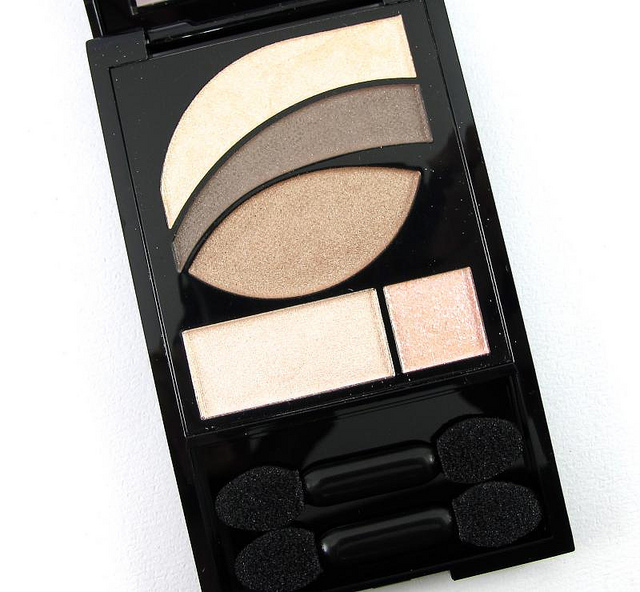
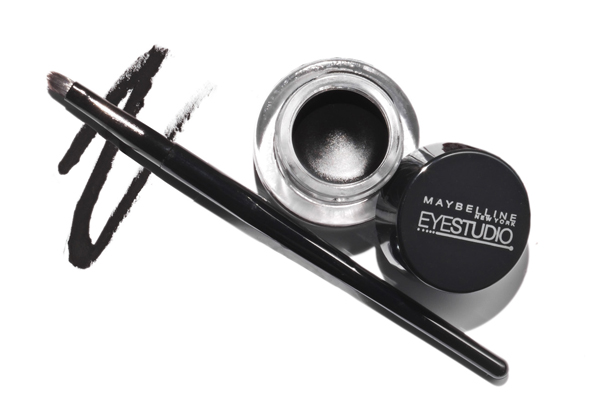
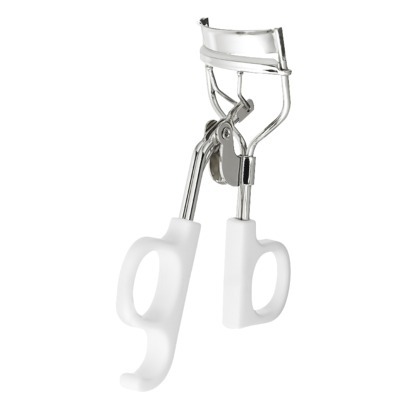
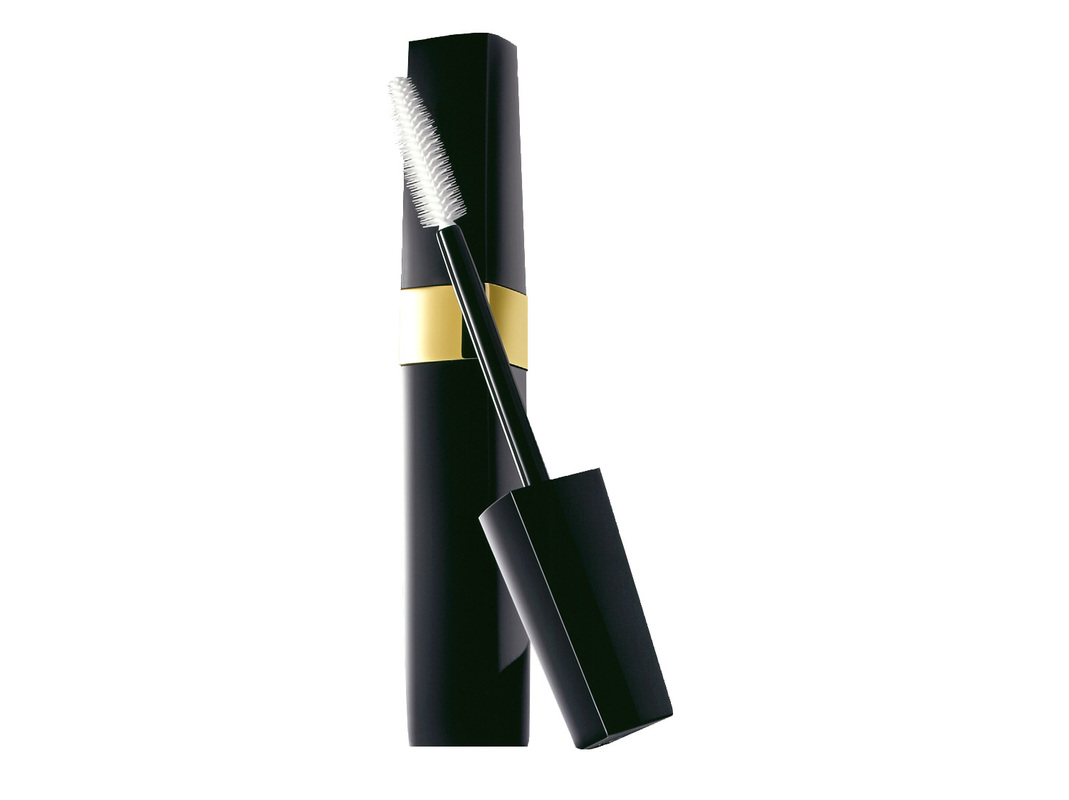
Now that we have gone over how to pick your products, lets go over her before and after picture (below) and lets look at what I used to get this look for Kelsey... BEFORE & AFTER 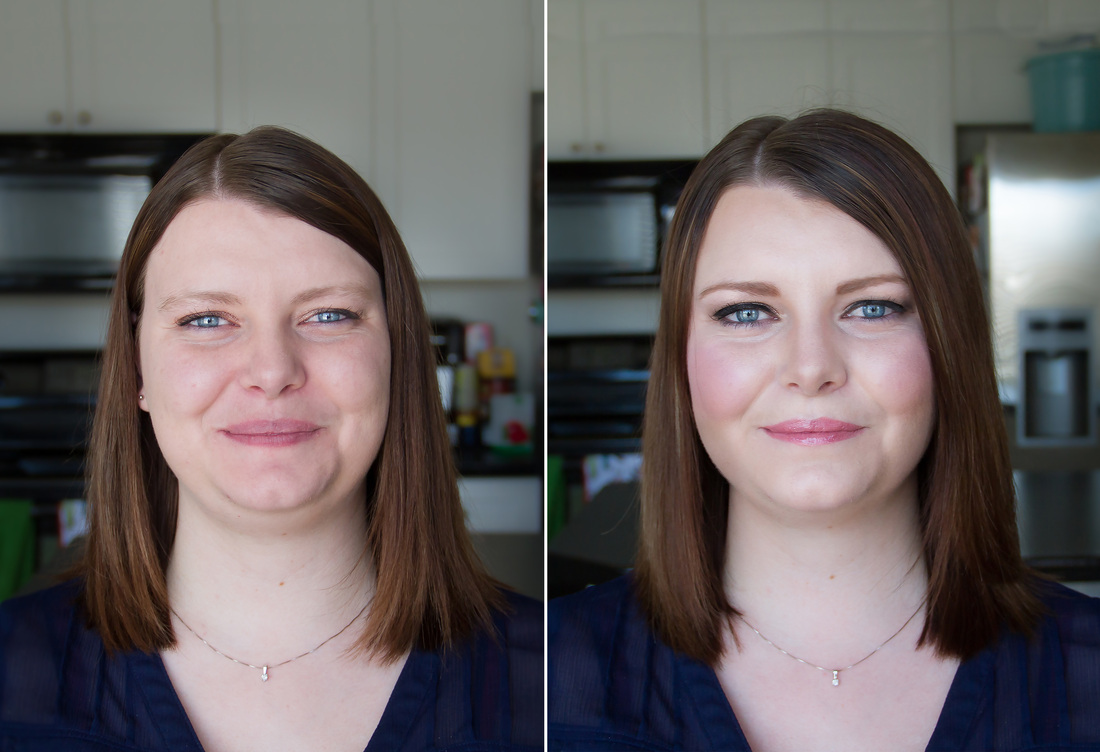 Isn't she gorgeous?!? Notice how I made very small changes. I know it seems like a huge difference when you put them side by side but I really kept it all neutral and soft. Products I Used... Contour Breakdown... 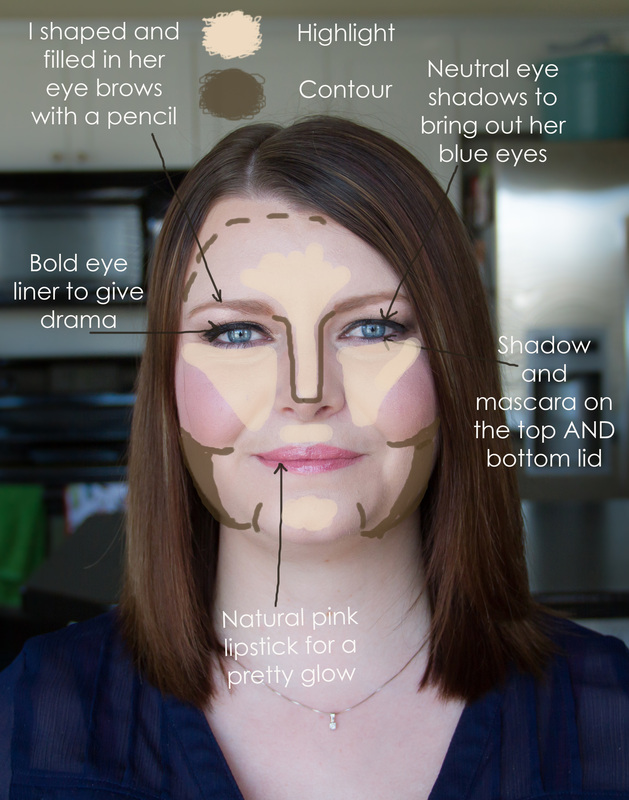 I kept with neutrals for this session. Neutral eye shadow, eyebrow color blush and lipstick. For a glam session I usually use false lashes but they aren't for everyone and to be honest, they were too much on her. The biggest impact of this makeover was the contour, highlight and proper placement of the blush. For round faces, make sure your blush is on the apples of your cheeks. Your contour color will be more heavily used below the cheek bones and towards the jaw to give a thinner look...  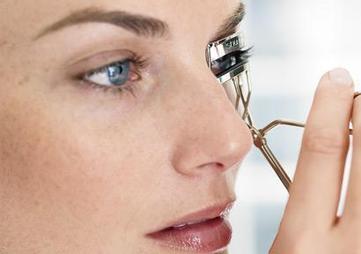 Heat It UP! To get curlier, flirtier lashes, take your hair dryer to your lash curlers and heat them up for five to eight seconds before curling them. This works and I promise you will be shocked and how well this works. 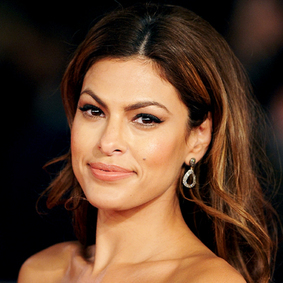 MIX MOISTURIZER AND BRONZER! Eva Mendes couldn't be more correct. "A shimmery bronzer is the perfect way to look alive. If you don't want to wear makeup, mix some with moisturizer. You'll look pretty but not made-up." 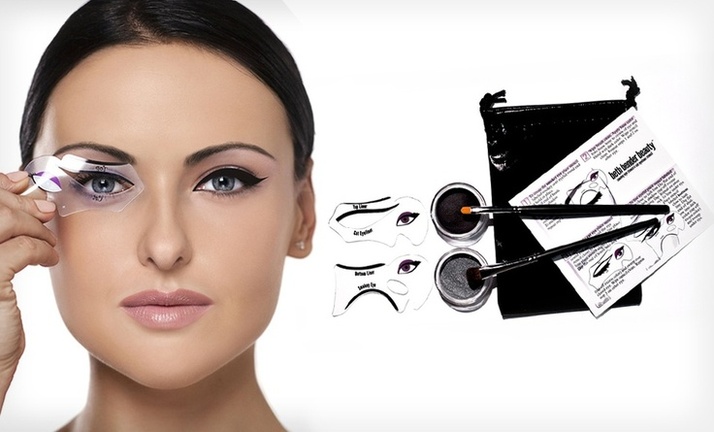 EYELINER STENCILS If you don't have a steady hand and you need a quick option for that beautiful eyeliner. Then THIS is perfect for you. The best That I've found is by Beth Bender Beauty. They are great quality and in seconds you get that perfect line. Its also great if you don't have a lot of time to spare but you want to make an impression. Here's the link to buy one... http://bethbenderbeauty.com/best-smoky-eyeliner-eyeshadow-kits/smokey-eye-cat-eye-liner-stencils.html  Thank you again for visiting and reading my makeup tips blog. I hope you learned something new and as usual here's some images from Kelsey's session. After finishing her makeup, we went outside and did some fun pictures.... 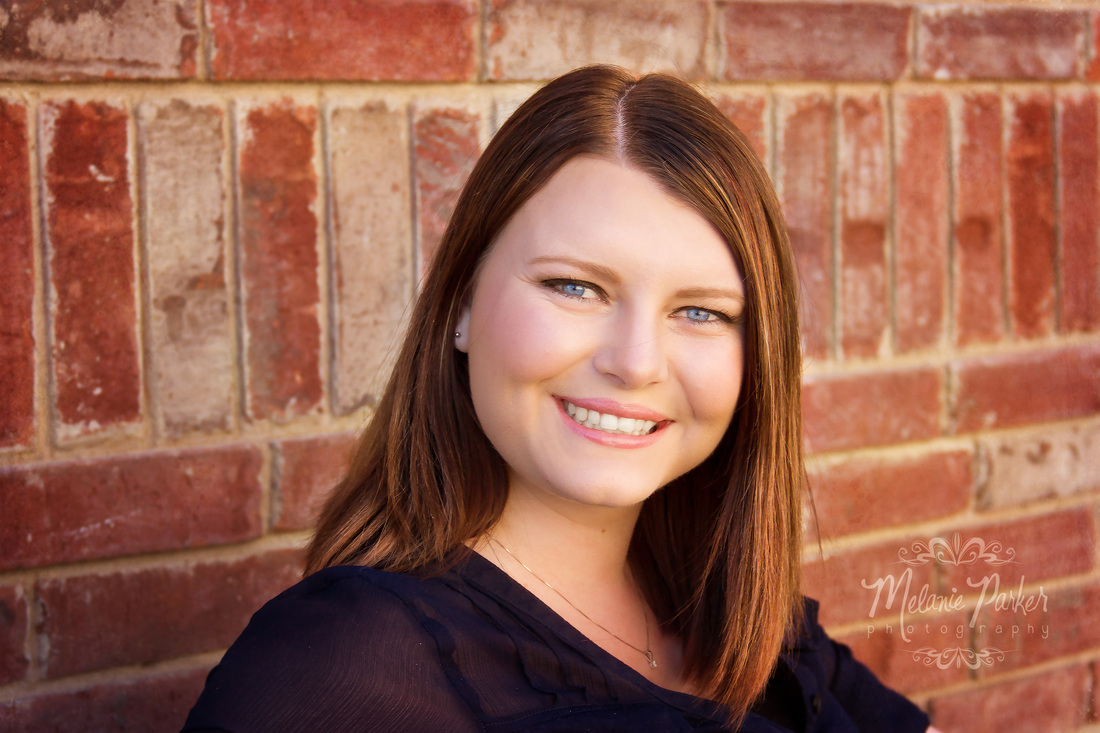 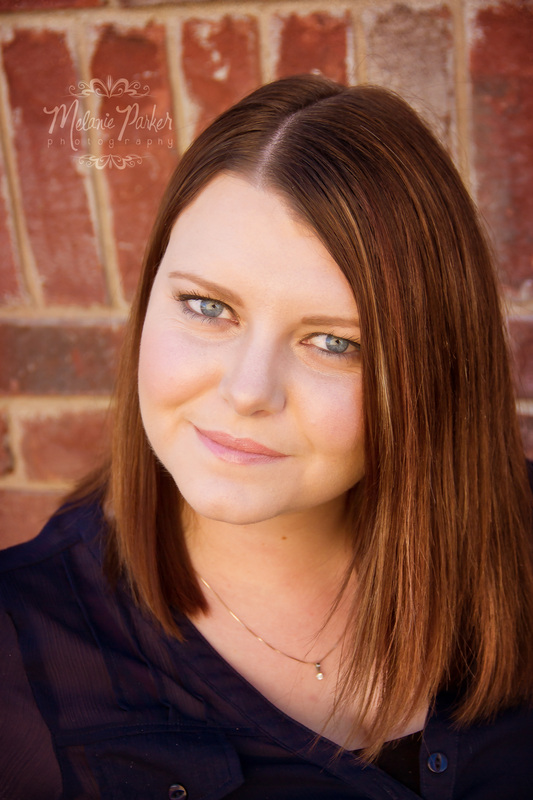 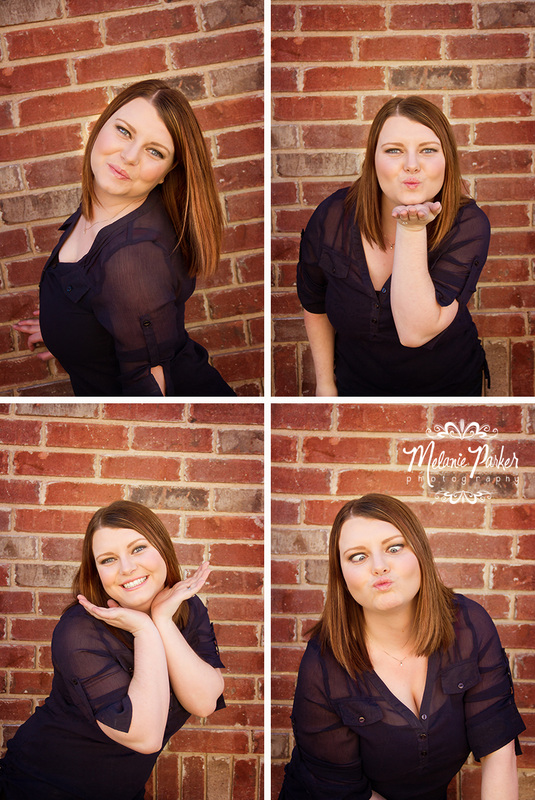
1 Comment
|
Archives
July 2014
Categories |


 RSS Feed