|
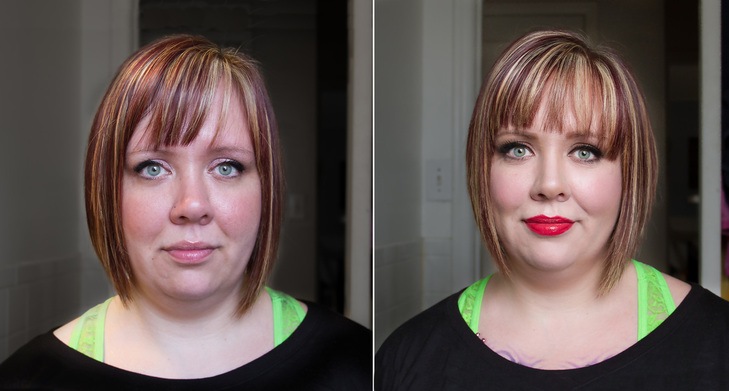
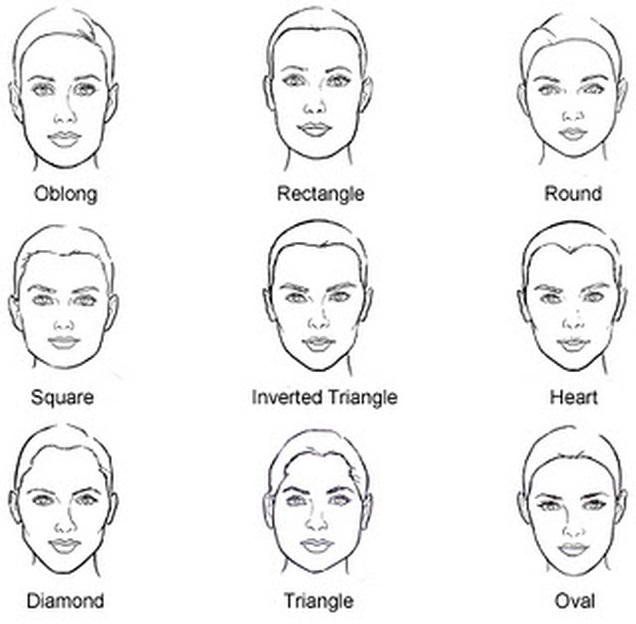
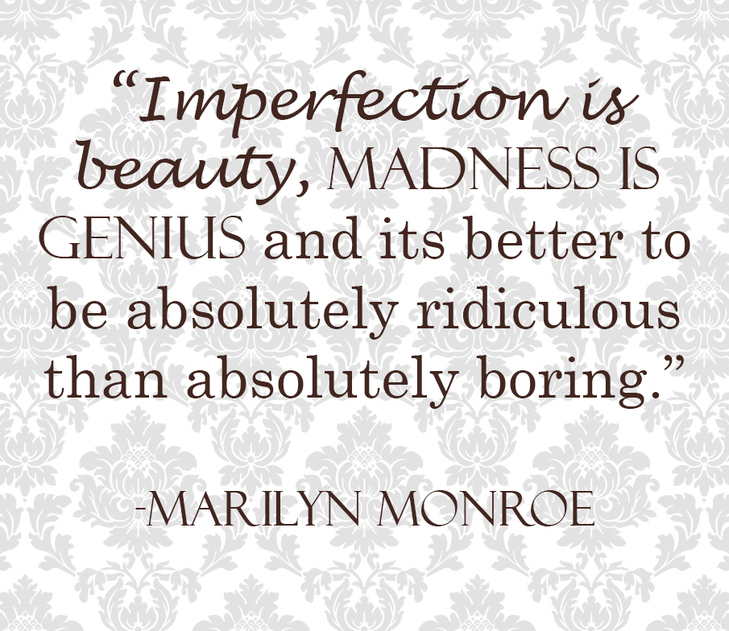
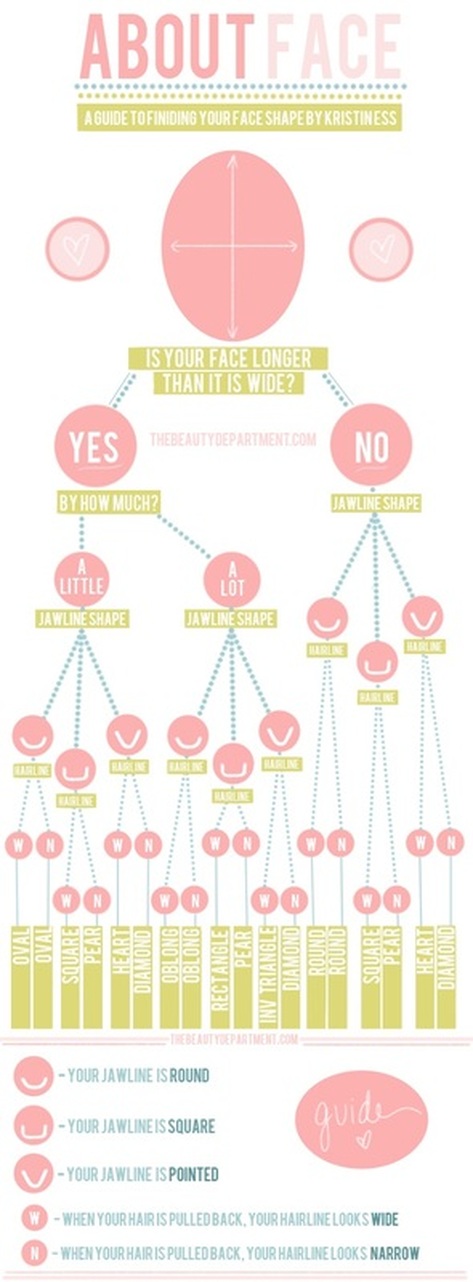
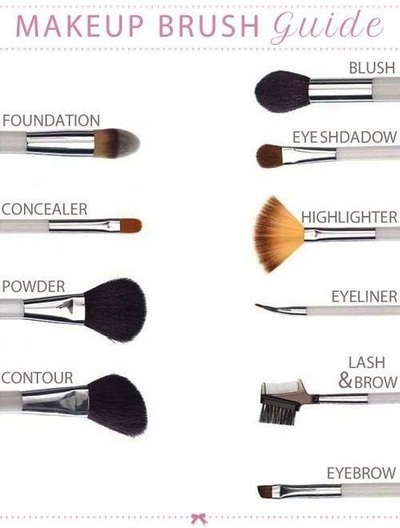
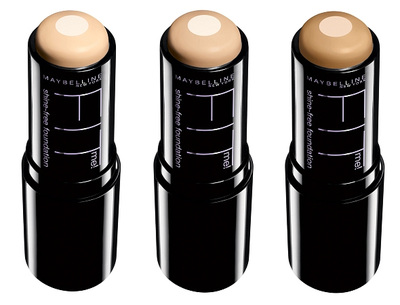
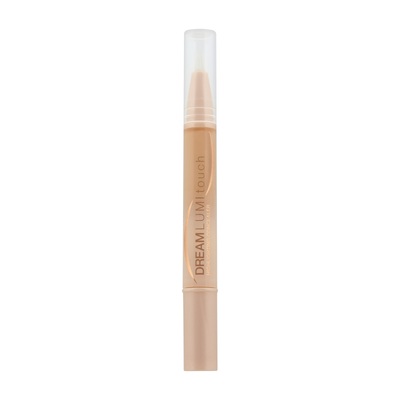
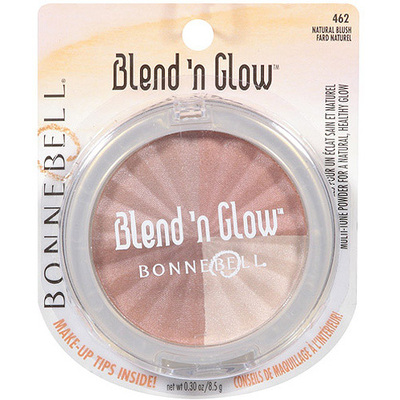
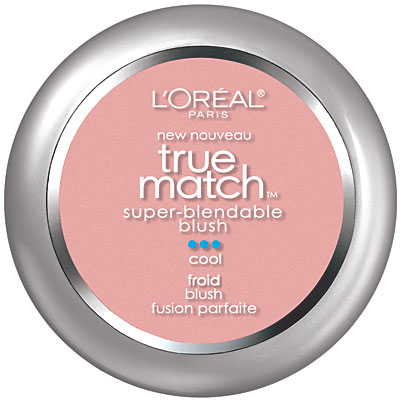
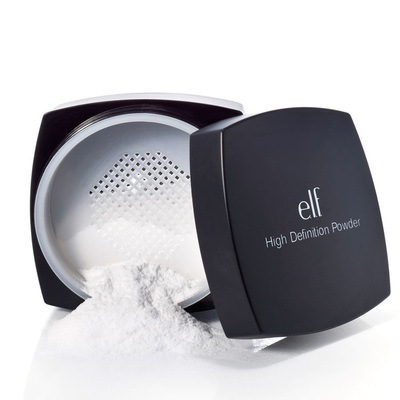
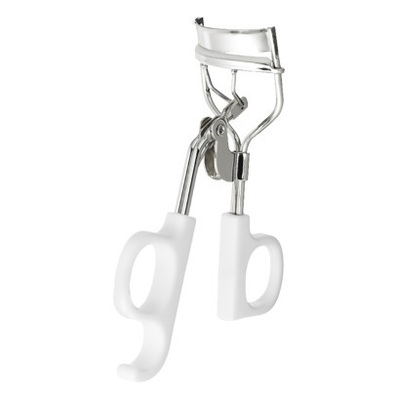
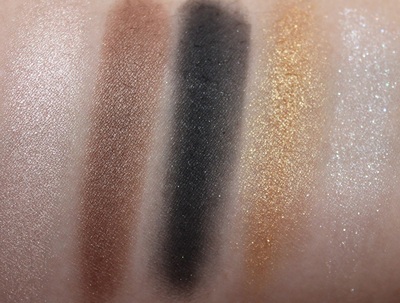
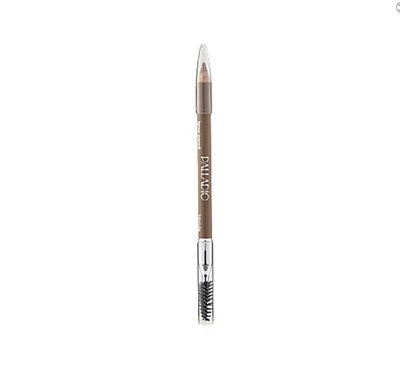
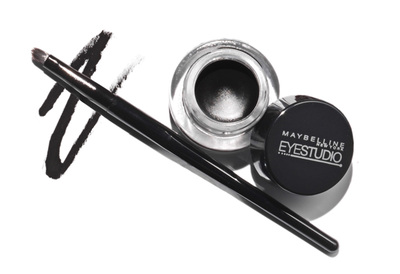
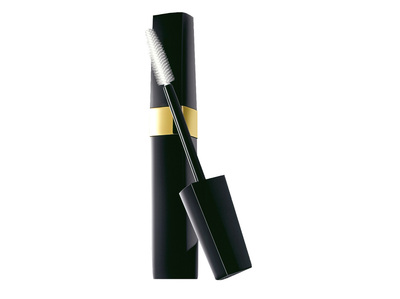
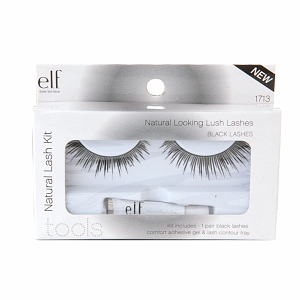
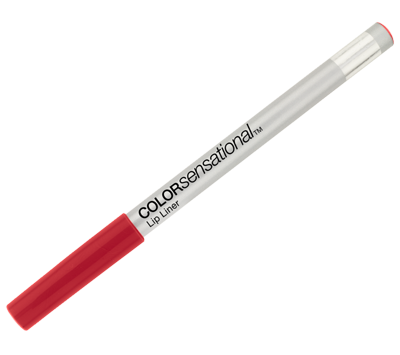
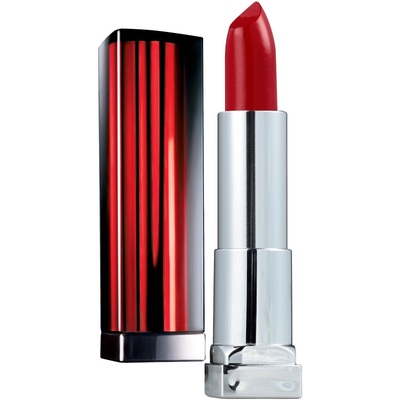
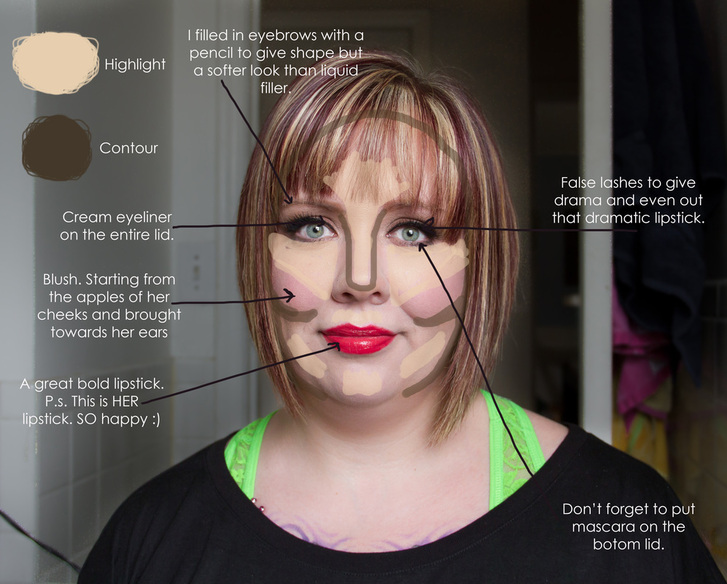
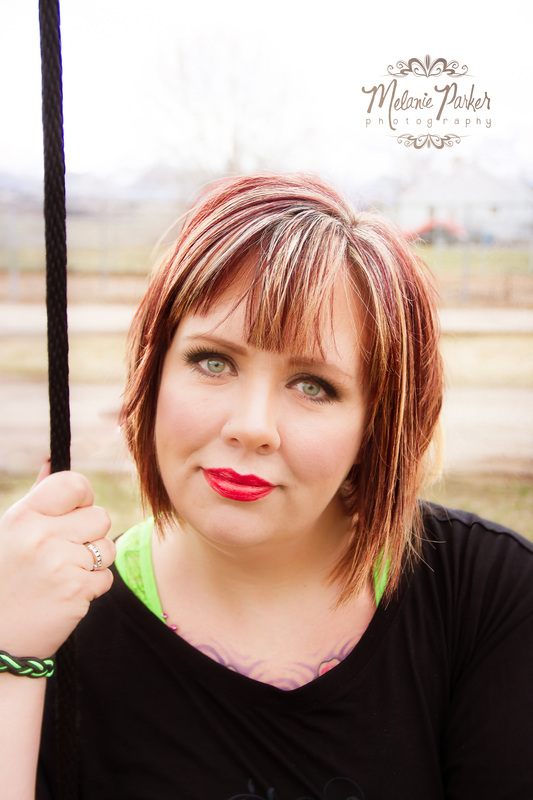
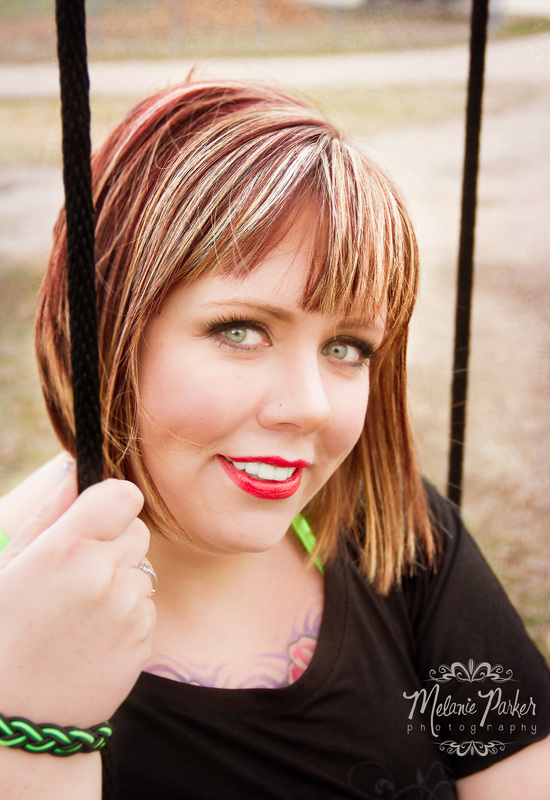
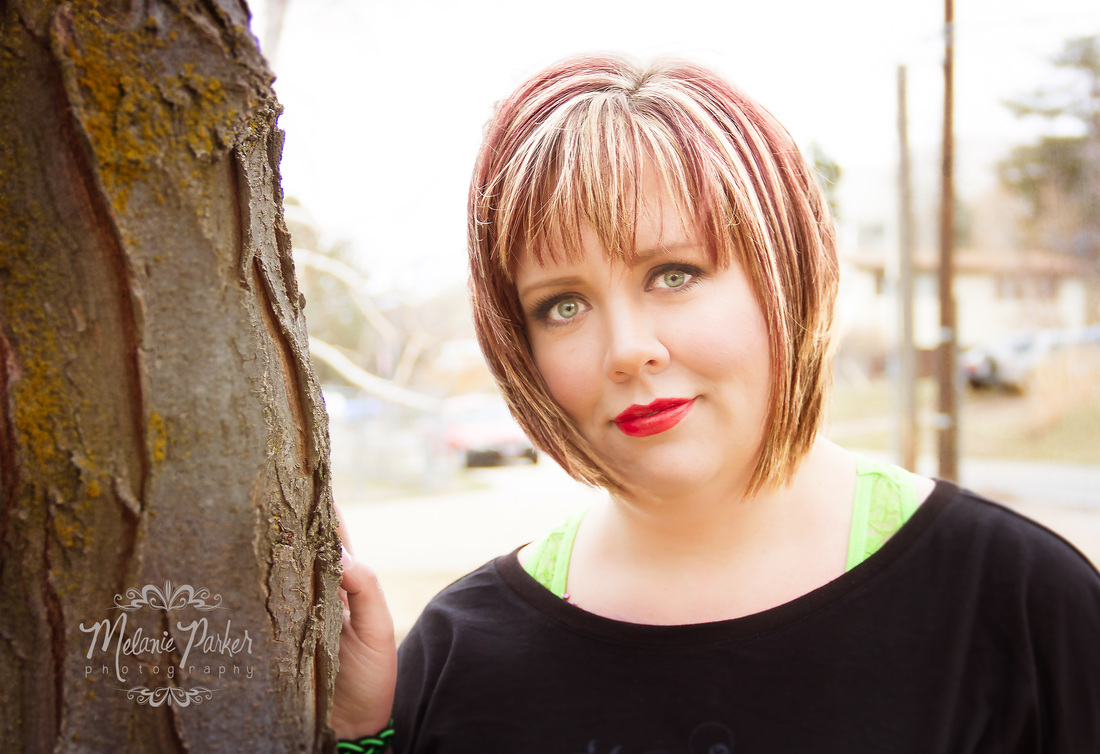
Welcome to my blog and website!! My model for this post was a friend of mine and we used to work together at JC Penny Portraits. I've known Amanda for a few years now and I was super excited to have her as one of my models. One of the most important things I've learned doing makeup for people is that to do it properly, you HAVE to know and understand face shapes. Amanda's face shape was a bit more challenging to figure out. At first I thought, "oh, she's an oval." But then, I noticed her face was longer than an an average oval. Was she an oblong? No, her chin and hair line were too square. Then at last, I found that she was mostly a rectangle and the only difference is her jawline which isn't quite as square as your regular rectangle. That process got me thinking, "It shouldn't be THIS hard to find someone's face shape." Then I realized that most of the people I've helped in the past with makeup and hair had no idea what face shape they were. There are a lot of guides on pinterest or google but most have only 5 face shapes examples. The Heart, Round, Square, Oval and Pear and a lot of them are a bit confusing. Did you know That there are actually 9 face shapes?? Everyone is different and THAT'S OKAY!!! I remember wanting to have the pretty oval face shape because they can do anything. I didn't like my sharp angles and jaw line because I thought it made me look chubby and I was limited to the type of short hairstyles I could do. But now, many years later I love my angles because I see them as strong instead of chubby. I also see my limit to short hair styles a blessing because then I would probably never grow out my hair :) Find your face shape, understand it and LOVE IT!! Love even the weird and uncommon parts of it. As a beautiful woman once said... Here's a great guide to help you find your face shape... Finally after doing my research, I realized Amber has a rectangle/oblong face shape! Because her face shape is a combination of oblong and square, there were some things that I had to do differently than most. For example, on a square face like mine, most of the angles used are angled upwards towards my temples to give a lifted and thinner look. She has that square forehead but its also long which means that those angles aren't really necessary. Instead I treated her cheeks more like an oblong face shape and bringing her contouring slightly lower, towards her ears. To learn more about the basics of contouring you can visit my first post.... http://www.melanieparkerphotography.com/3/previous/3.html On a side note, her hair cut is perfect for her face shape. If there's anyone else with this face shape and you're considering a hair cut, THIS is awesome. Its a blunt bang with a layered A-line. So now lets get into the makeup fun! What I used... (Hover or click on the images to get a description) Products: I said this in my previous post but I have to mention it again. When you're being photographed, I always recommend that you wear makeup that gives you a matte finish. There's nothing worse than having that horrible shine across your face in pictures because you used the wrong foundation. You might be asking, "can't you Photoshop that out?" Its a good question but the answer is no. You want to GLOW in pictures, not sparkle or have that greasy shine. The best product for you really depends on your skin tone and sensitivity. If you have clear, normal skin, you can wear basically anything. If you're like me, where I have the occasional blemish, dry skin and a couple acne scars from my teenage years I want to hide, than you'll want something with a bit more coverage and more moisturizing like cream products. TIP: When you apply cream products to your face, make sure you use a sponge and don't slide it on your face. Make sure you always stipple it into your face. Stipple: To apply with many light dabs in to your face. Now that you've seen WHAT I used, lets see HOW I used it... FACE: I first picked a foundation color that matched her neck color. ALWAYS make sure to match your foundation with your neck. The Maybelline Fit Me sticks glide really well onto your skin but you'll want to blend it into your face with a stipple brush to give it a beautiful finished look. The contour color is also a Maybelline Fit ME stick only a few shades darker than the foundation. After I applied it on her face like the image above, I used another stipple brush and small angled brush to blend. The blush was started from the apples of her cheeks and swept it gently towards her ears. Because she already has a long face keeping it more of a horizontal line looks better. Bringing it up towards her temples would only make her look longer and she doesn't need that. PLEASE do not make a harsh blush line on your face. It should look like a soft blend from your cheeks towards temples or ears. (depending on your face shape) As you can see in the image, the highlighter/concealer was used in on her nose, small area of her forehead, under eyes, above lips on chin and on the cheeks between the cheek and chin contour color. I applied it on her face just like the picture and then blended it into her skin with a stipple brush. To add a bit of a "glow" I used the Blend N Glow lightest shade on all the places I blended her highlighter. Finally the face portion was completed with a sheer powder to set everything. 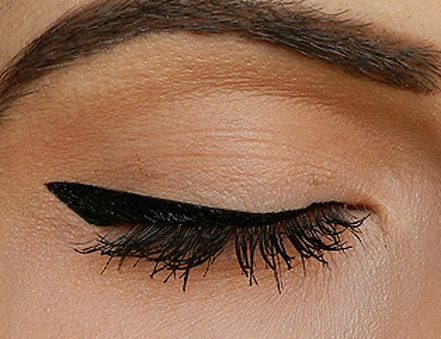 From there I moved onto her eyes. After curling her lashes, I applied her eyeliner on the entire lid with it being thicker from the middle to the end. The image is what I did for Amanda because she has round eyes and doing this method makes them look more oval. I've found that most people have a really difficult time with which eyeliner to choose and applying it. I really love the cream eyeliner from Maybelline but if you like a much softer look than a pencil would be great for you. Pencils/pens are great but you're limited to the creativity. If you have a steady hand then a liquid liner would be great for you. Then of course we added the mascara and then the false lashes. The final part to her eyes and one of the most important is the eyebrows. Just like your hair frames your face, your eyebrows frame your eyes. You'll want to make sure that you keep you're eyebrows within 2 shades of your hair color or match it. If your hair is platinum blonde than you'll want to keep them only 2 shades darker. Below is an image on HOW to fill in those brows. You can use a pencil like I did on Amanda. You can also use eye shadow, although it doesn't last as long as a cream brow filler. Finally the last part of this look is the lips. Forgetting to put color on your lips is like leaving the house without your wallet or purse. Its a bad idea. For Amanda we did a bold red lipstick, which I love and it really looks amazing on her. You don't have to be so bold but even if its a simple pink that compliments your skin tone, its better than nothing. THANK YOU again for reading and I'm going to end this post with a couple glam pictures I took of Amanda. My next post will be on PEAR face shapes.
2 Comments
5/3/2015 08:58:12 pm
Latest Makeup Tips for Workplace from UK Makeup Artist
Reply
Leave a Reply. |
Archives
July 2014
Categories |

 RSS Feed