|
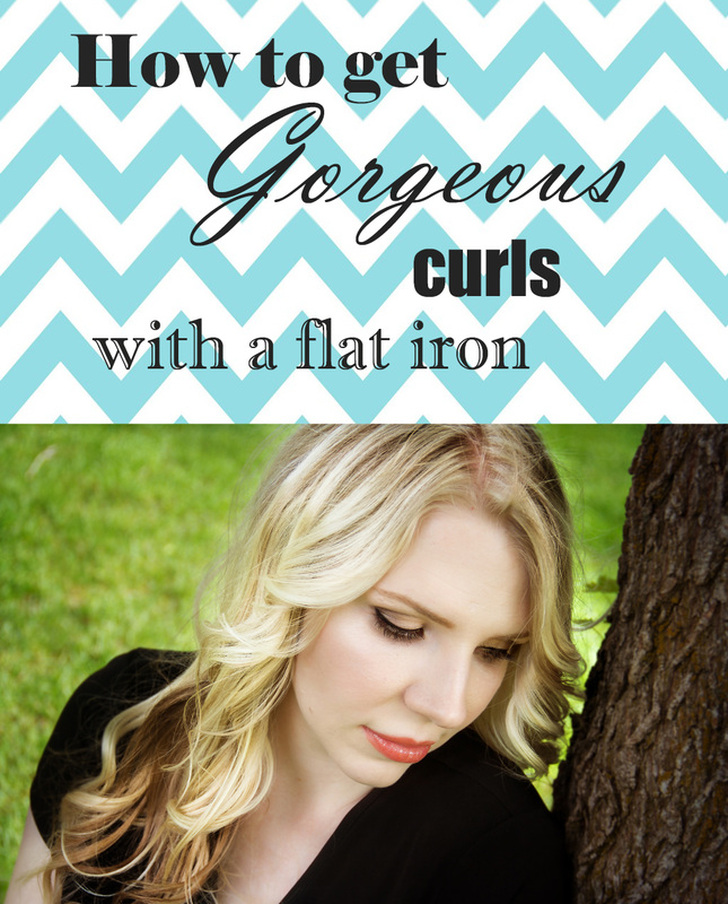
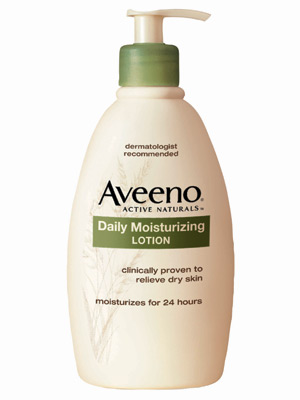
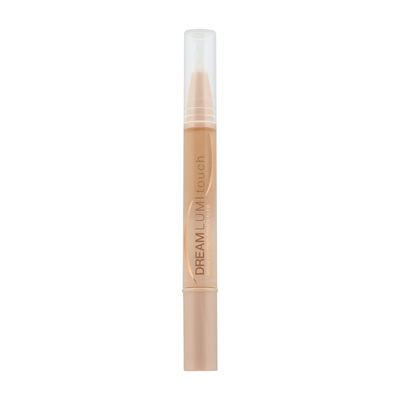
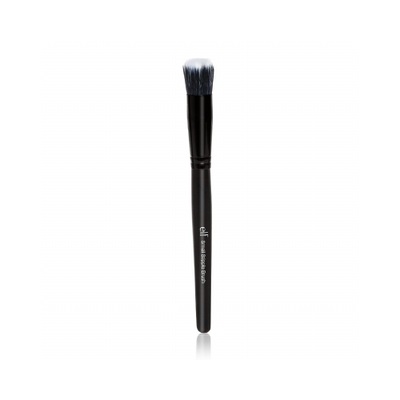
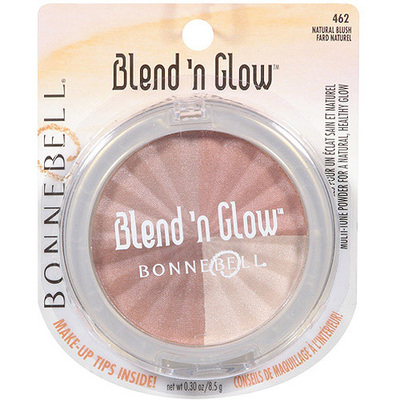
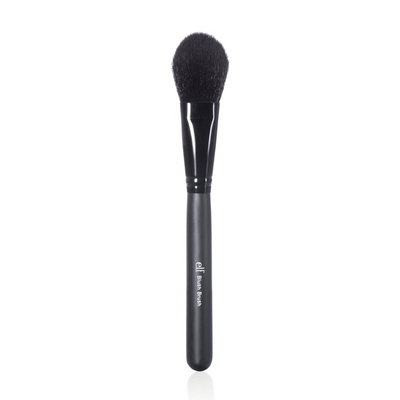
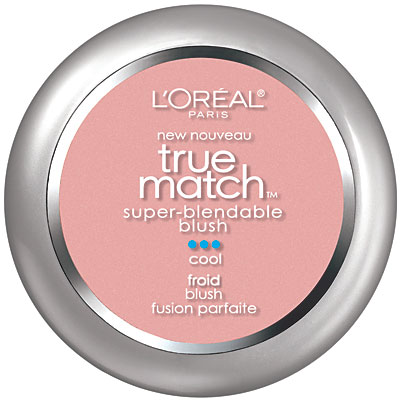
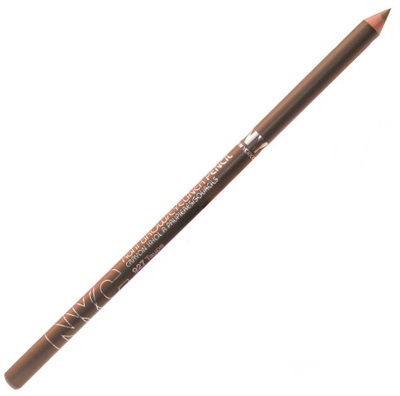
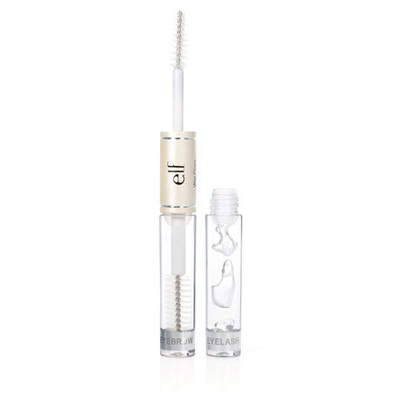
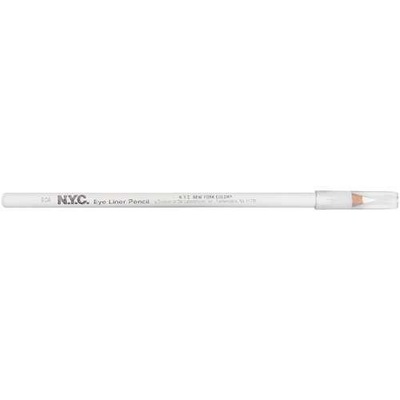
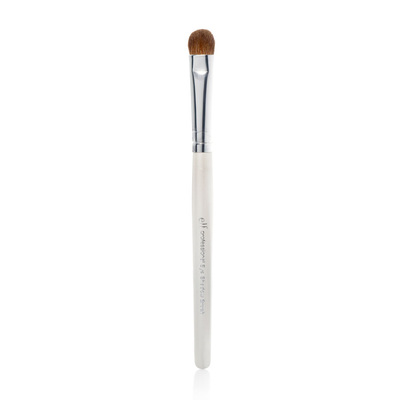
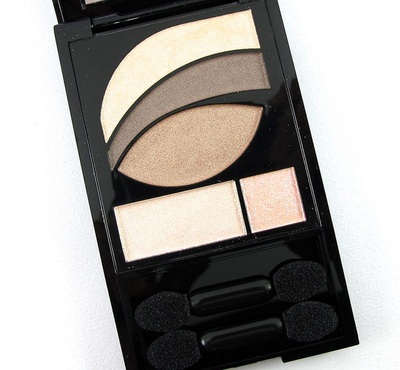
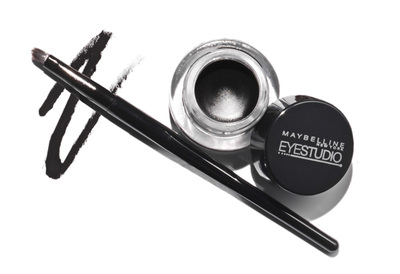
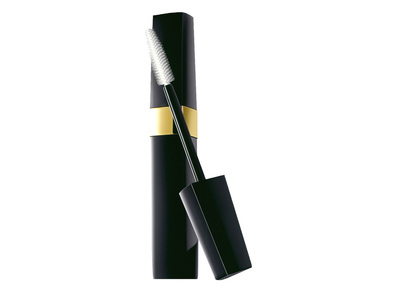
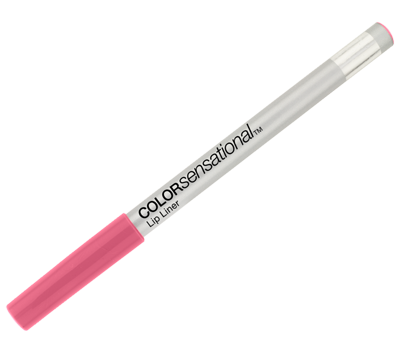
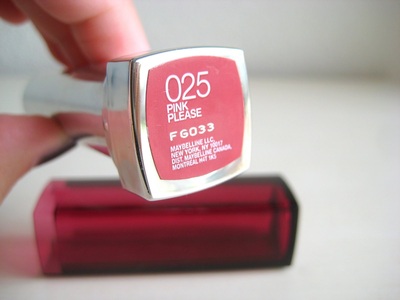
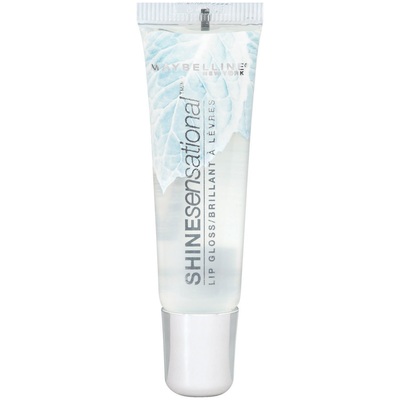
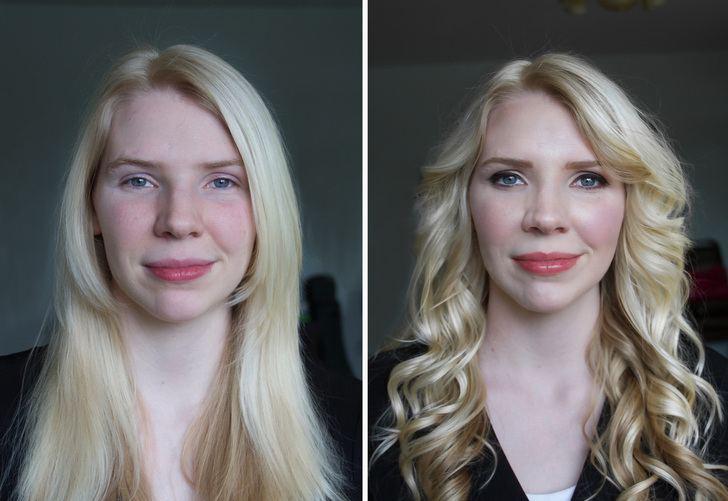
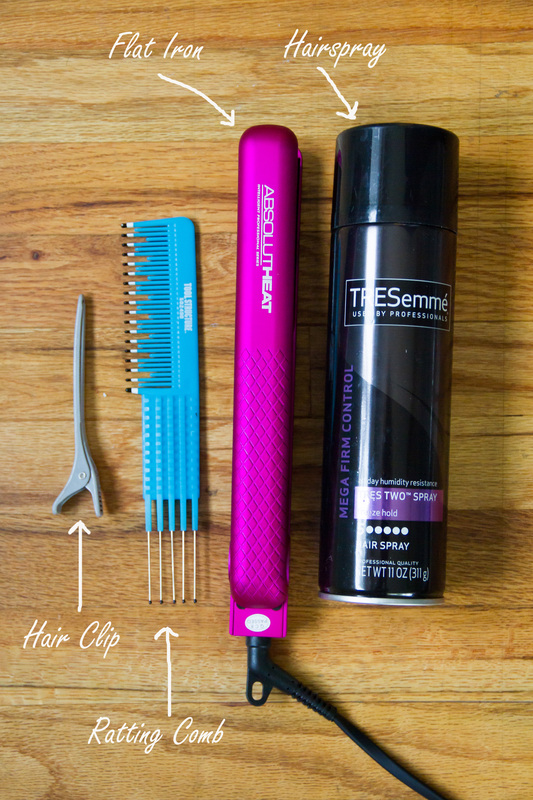
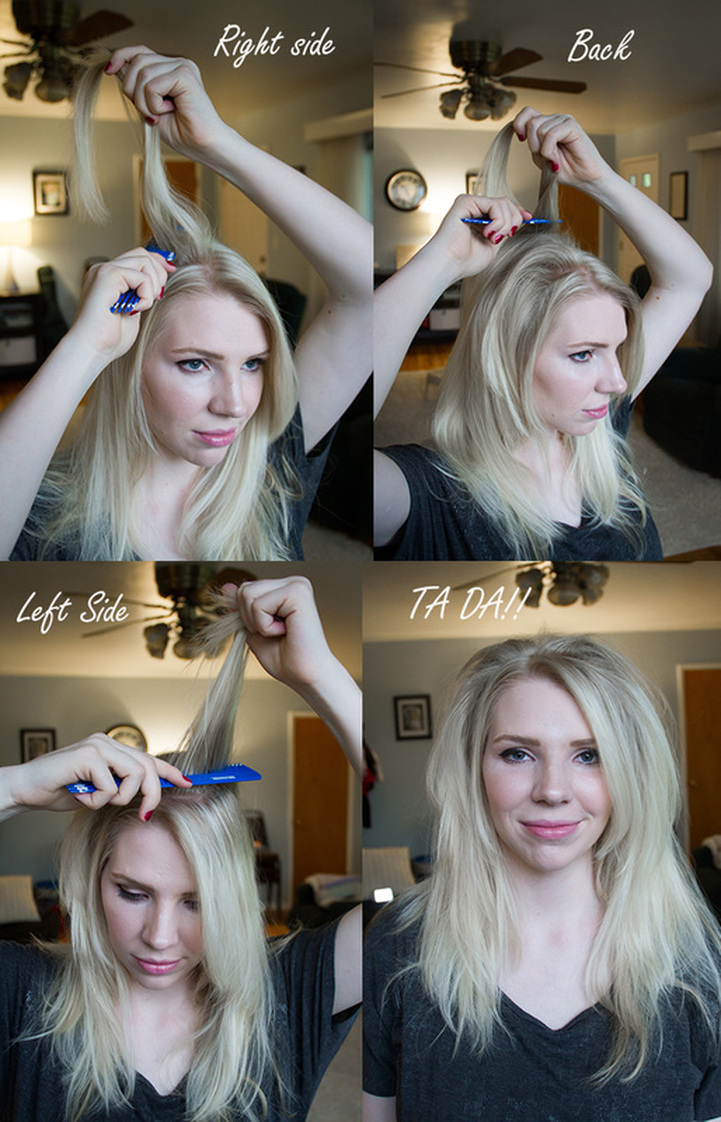
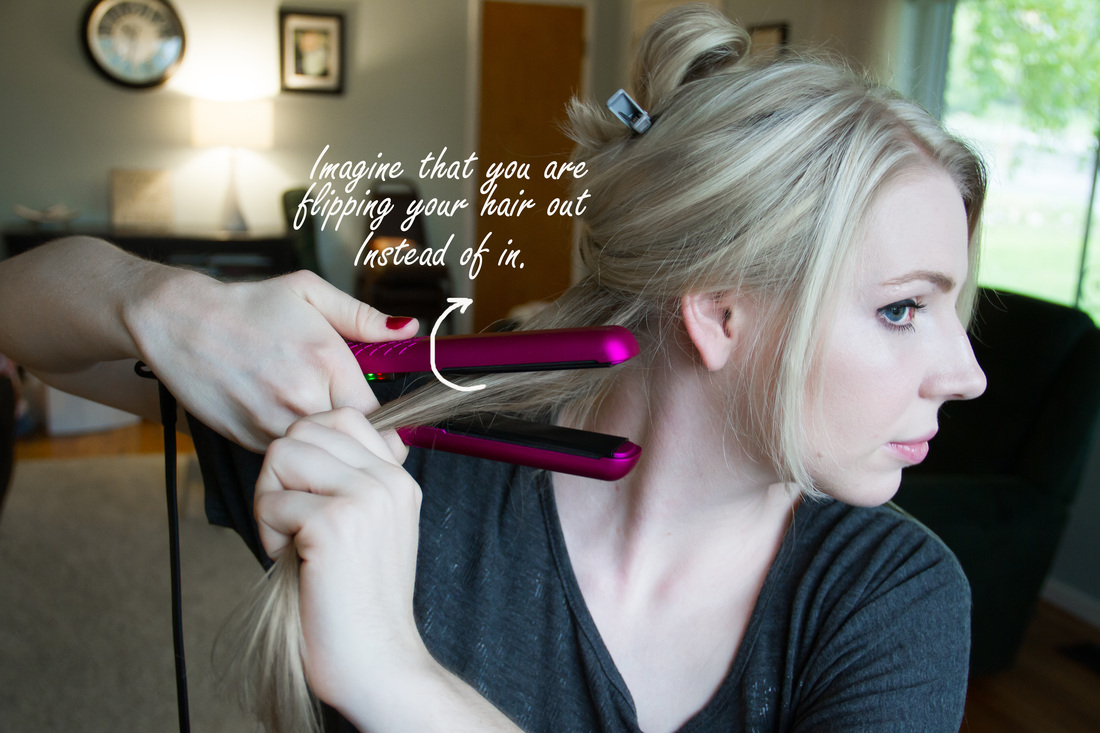
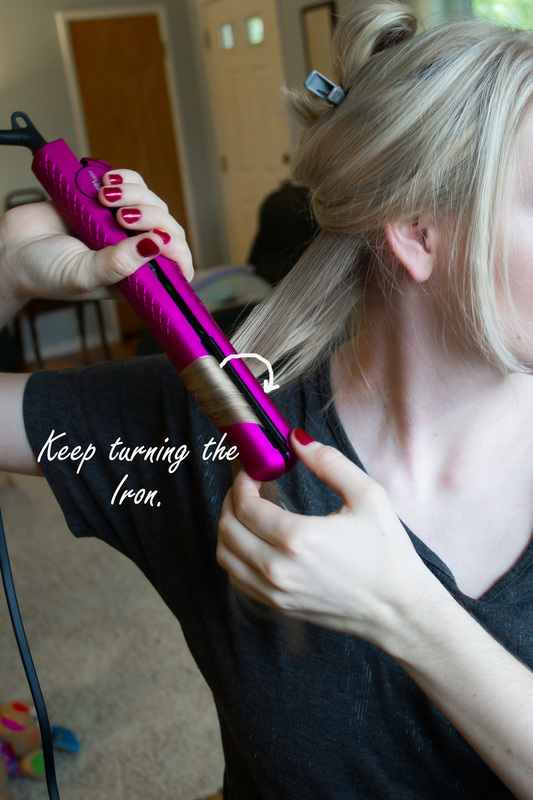
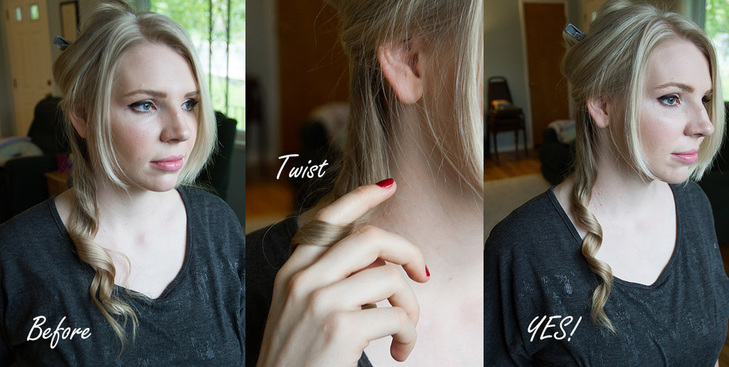
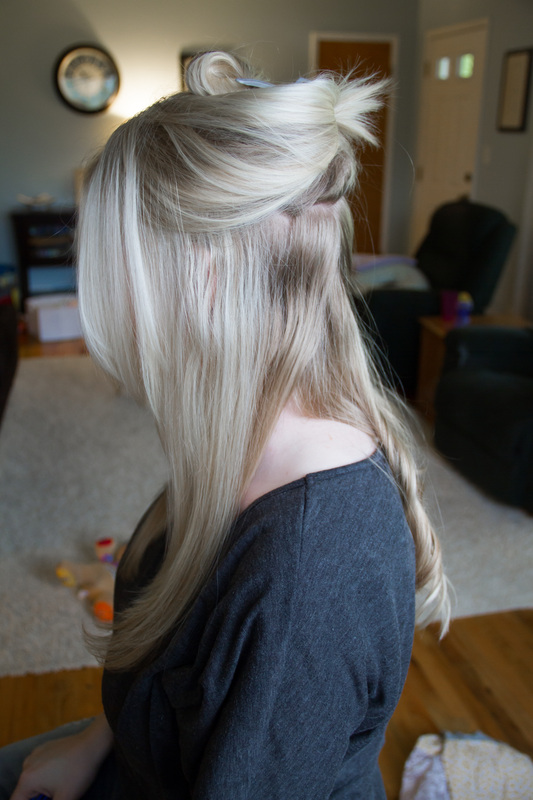
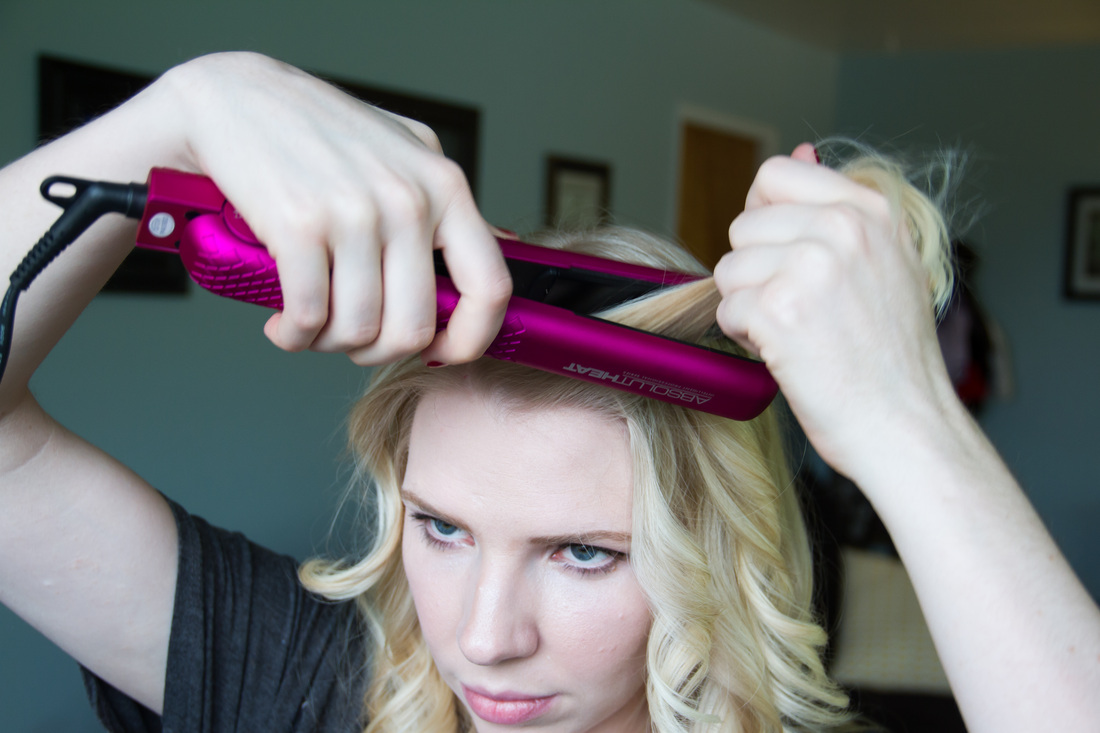
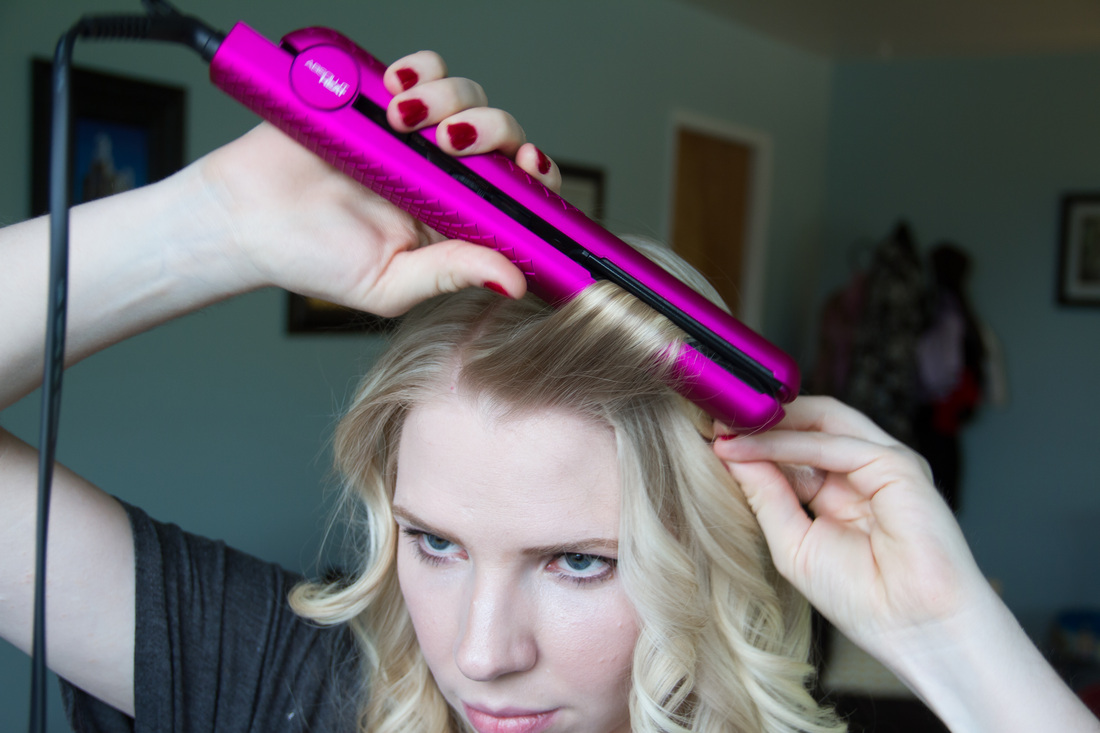
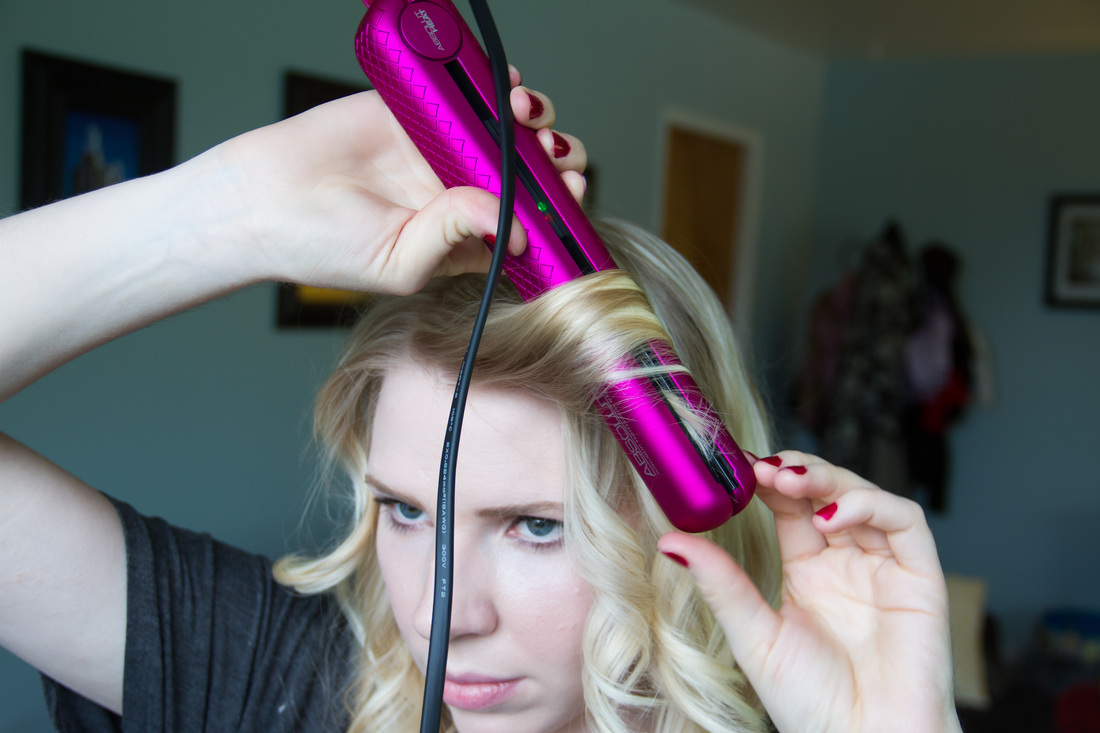
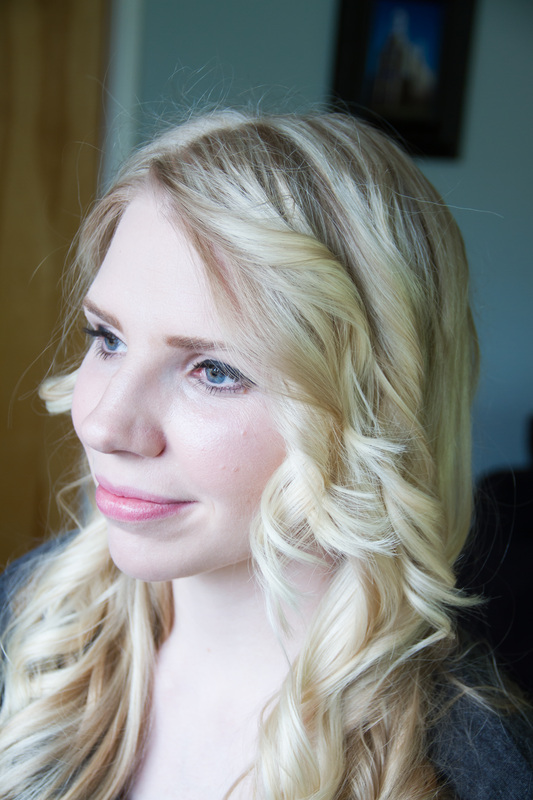
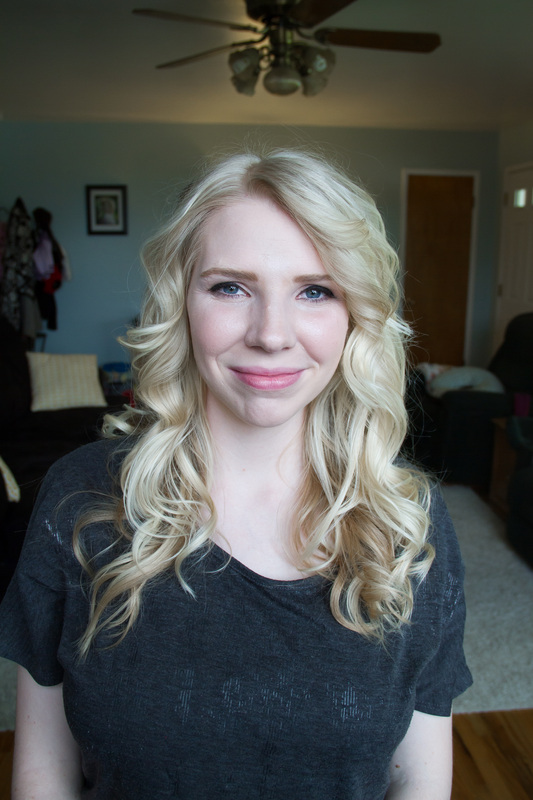
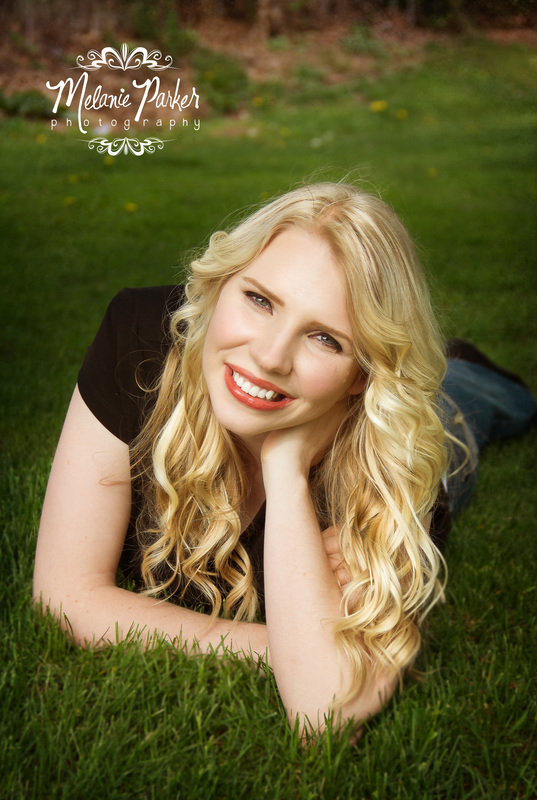
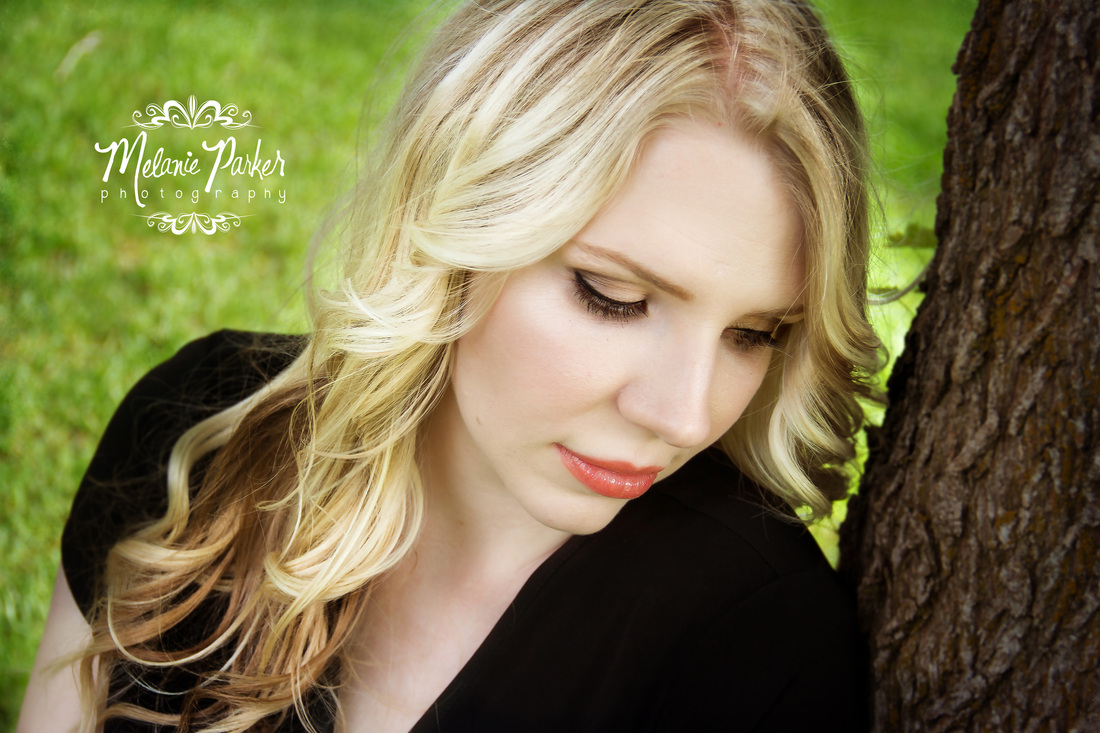
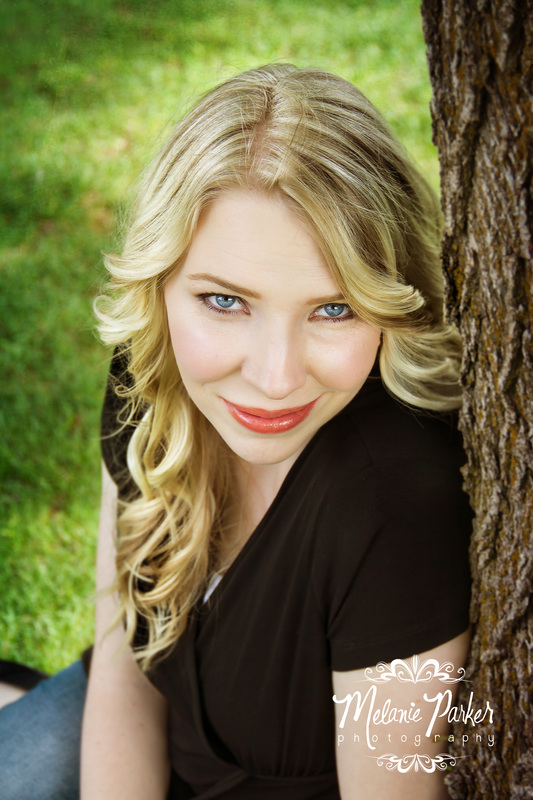
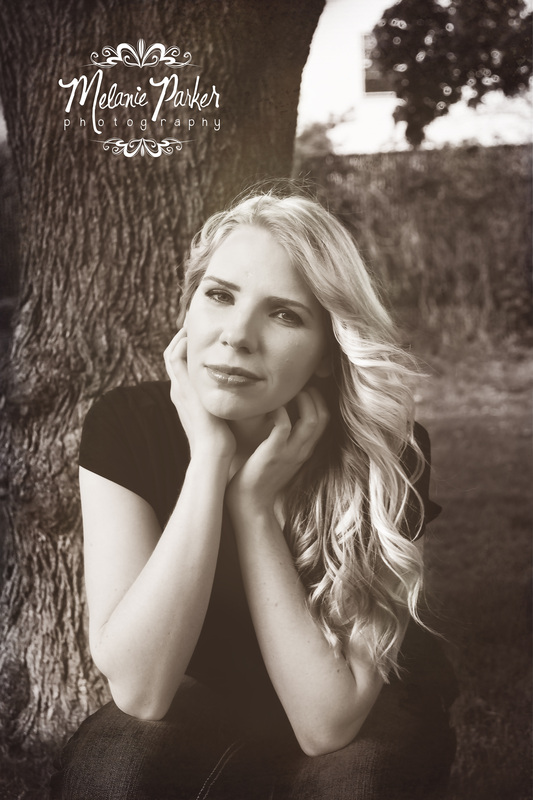
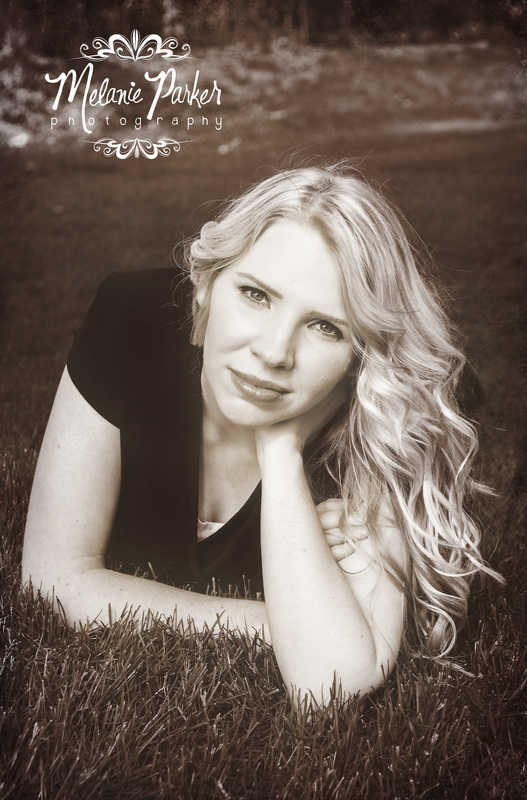
Welcome to my beauty blog and my photography website! I'm super exited to be posting my first hair & makeup post. I recently had my sister in town and she mentioned that she was loving all my makeovers and wondered if I would show her a few things. Well yeah!! So the next day after looking at her makeup bag which consisted of mascara, foundation and eye shadow that was at least 10 years old, I promptly took her to the store and we got some new and proper makeup. So before we get to the awesome hair tutorial, I wanted to let you all know what products I used on this beautiful lady. She made me promise to keep it simple. Like no more than 10 minutes tops simple. So I simplified everything. If you've read some of my other posts you know that I LOVE contouring and I actually did it with Nita but instead of using a foundation contour color that is 5 shades darker than her foundation, which gives a more defined look, I just used a simple bronzer instead. In the end she was SO happy with it and almost every time I talk to her on the phone she tells me how much she's loving doing her makeup. This just makes my heart sing. She knew she was beautiful before makeup and so did I but now she can really love herself, inside and out. Here's what I used for Nita's makeover... (Hover or click on the images to get a description of each) Before After So now lets get to those gorgeous Curls!!! This tutorial is mostly done with pictures. Enjoy! When you are "ratting," "Teasing" or giving your hair "body." Remember to keep it close to your head and do it in 2 inch sections. If your hair is super thick, separate your hair into 1 inch sections for ratting. This part is VERY IMPORTANT! After you finish the curl, It will come out very loose. Take the curl, twist it around your finger in the direction you curled it and let it go. It should be much tighter and defined as you can see in the images below. After you have twisted it, LEAVE IT ALONE. I've seen too many people mess with the curls while they are still warm and this is a HUGE mistake. TIP: Curls will ONLY stay if you let them COMPLETELY COOL. Let them get to room temperature or feel cold to the touch before you mess with them. This will dramatically change how your curls turn out and how long they last. Get your section.... Twist Up... Keep turning and use your other hand to help you turn the iron if needed. VUALA!!! AFTER they have completely cooled off, you can gently separate the curls with your fingers. After separating them, tilt your head, fluff the curls up with your fingers and spray with hair spray. All done. Thank you for visiting my beauty blog and photography website! I hope this was all helpful for you and as usual, here's some pictures we took after doing her makeup...
0 Comments
Leave a Reply. |
Archives
July 2014
Categories |




 RSS Feed